
EazyBot Integration Guide
EazyBot is an intelligent assistant client that supports both desktop and web versions, offering features such as AI conversations, skill extensions, scheduled tasks, and more.
1. Get API Key
- Refer to Model Activation Help Document
2. Install EazyBot
1: Desktop Client Installation
The desktop client can operate on your local computer, suitable for scenarios requiring file operations; the web version runs in a container with a more secure environment, suitable for pure conversation scenarios.
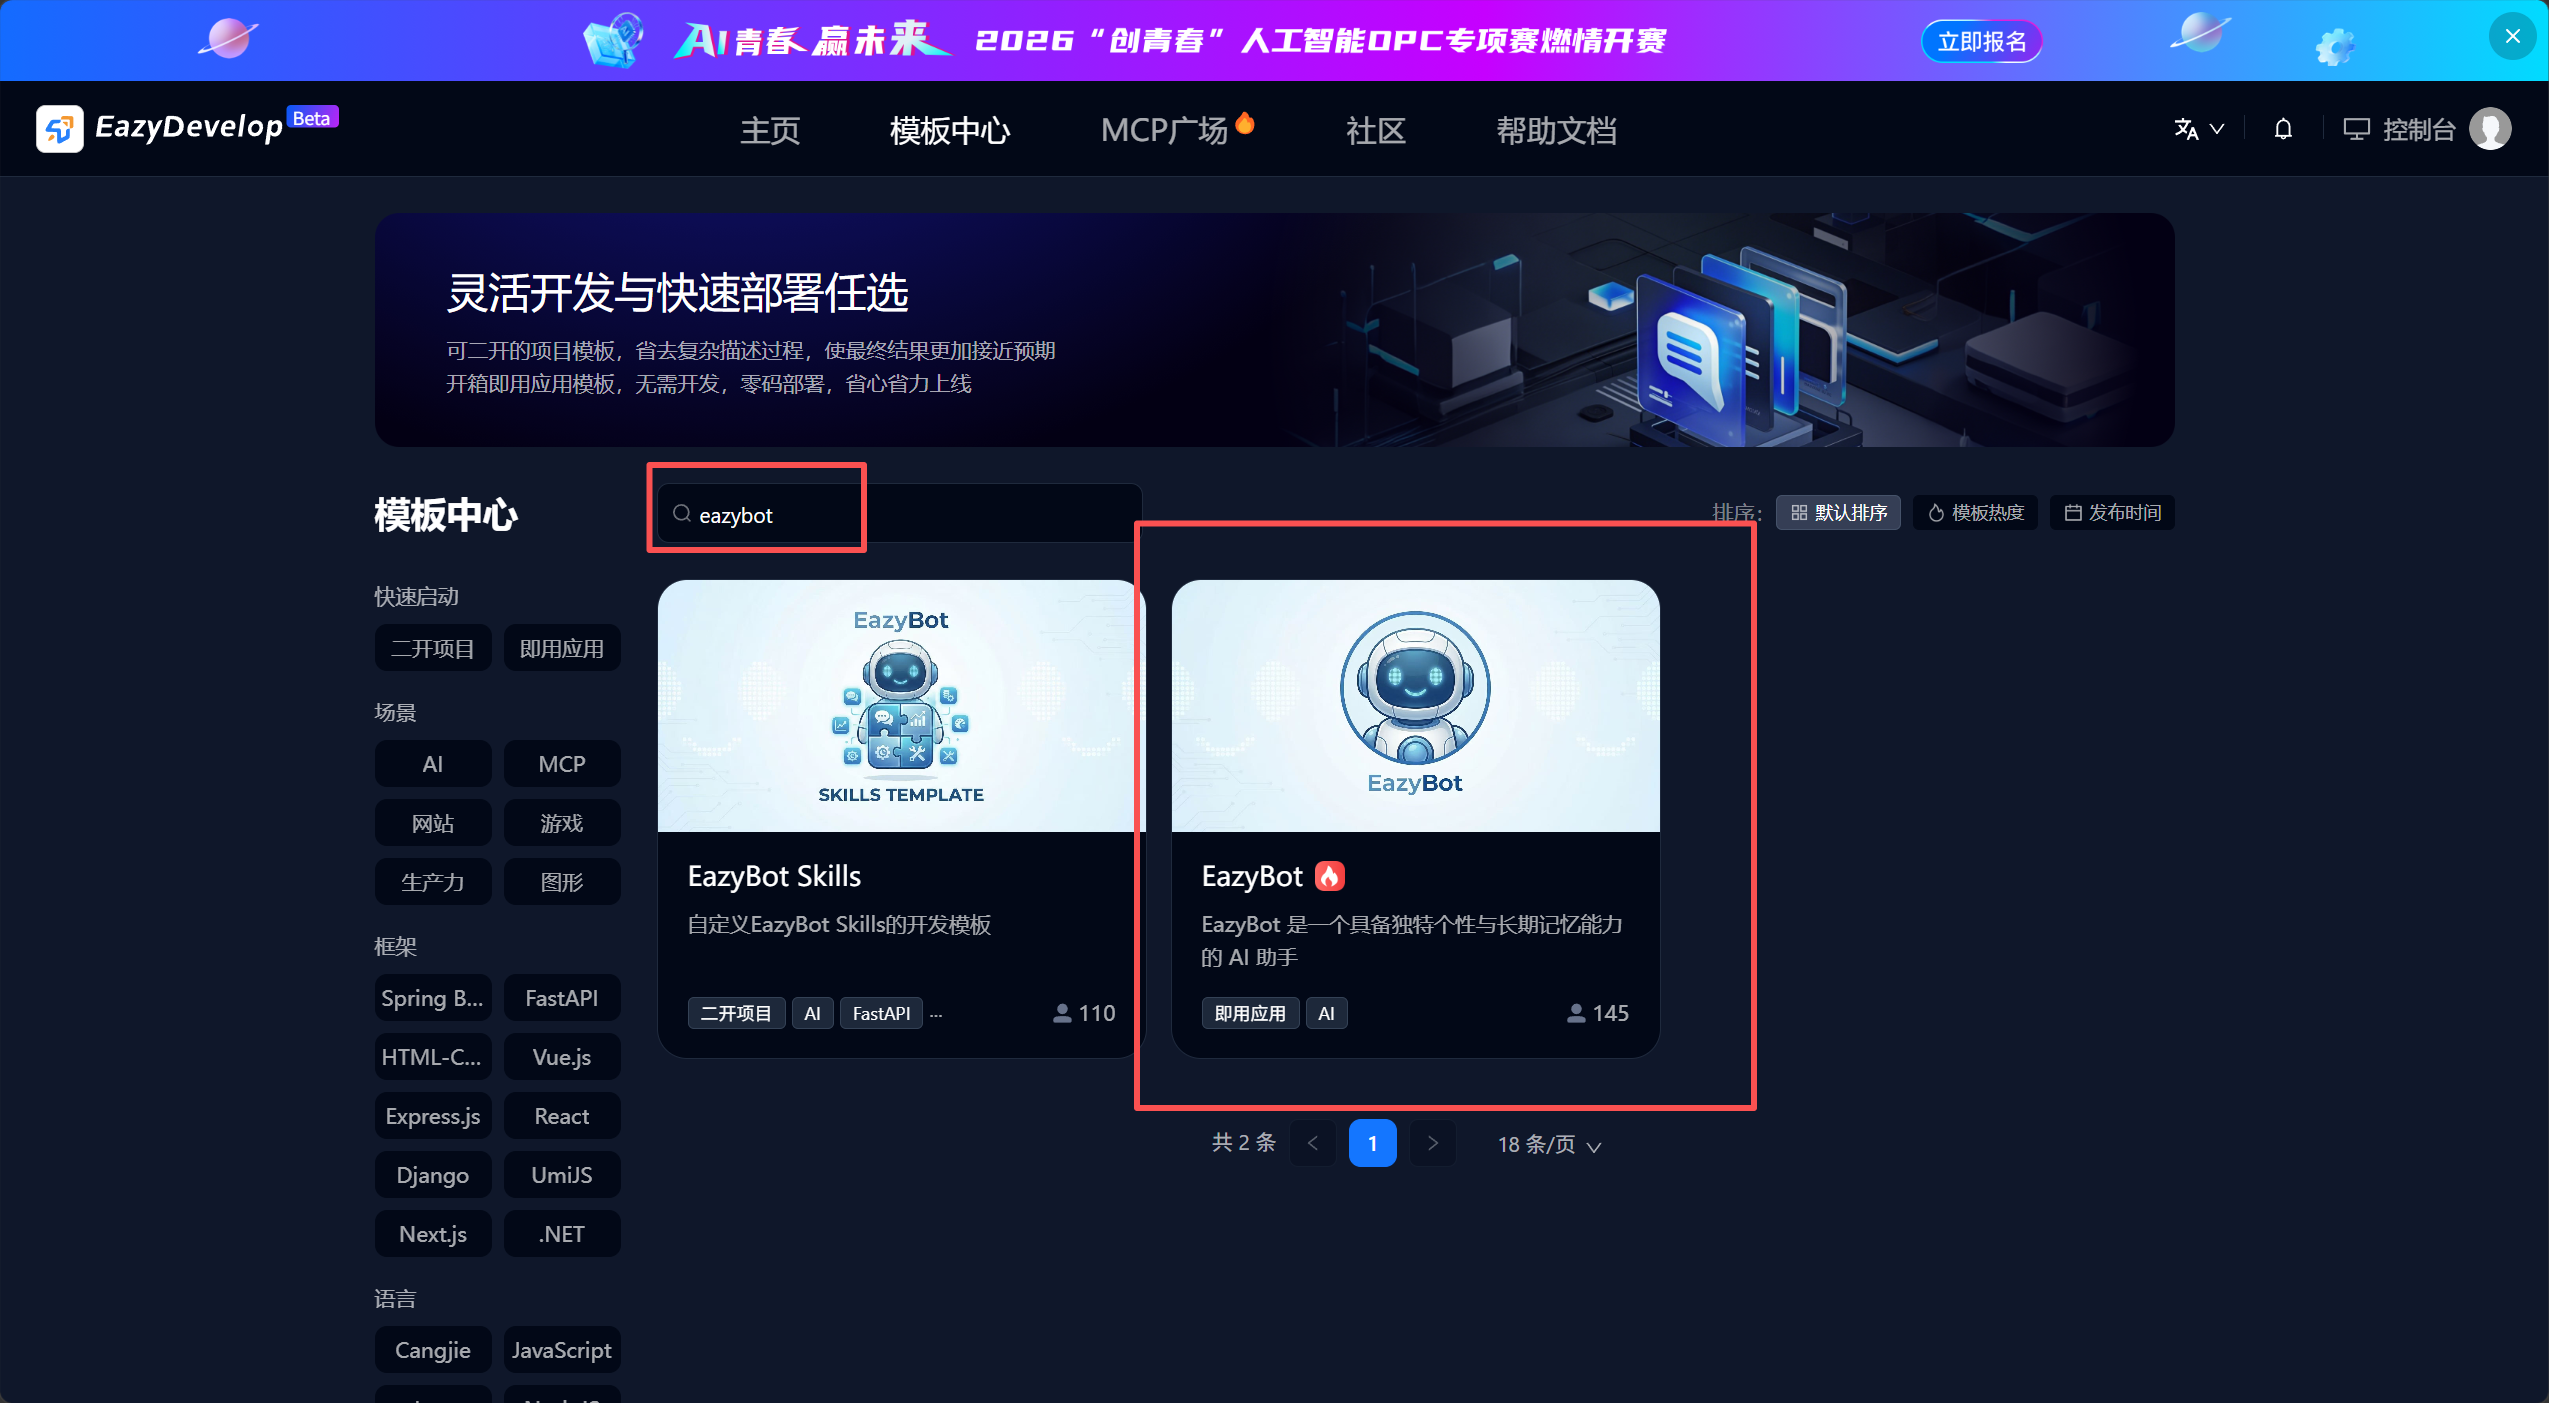
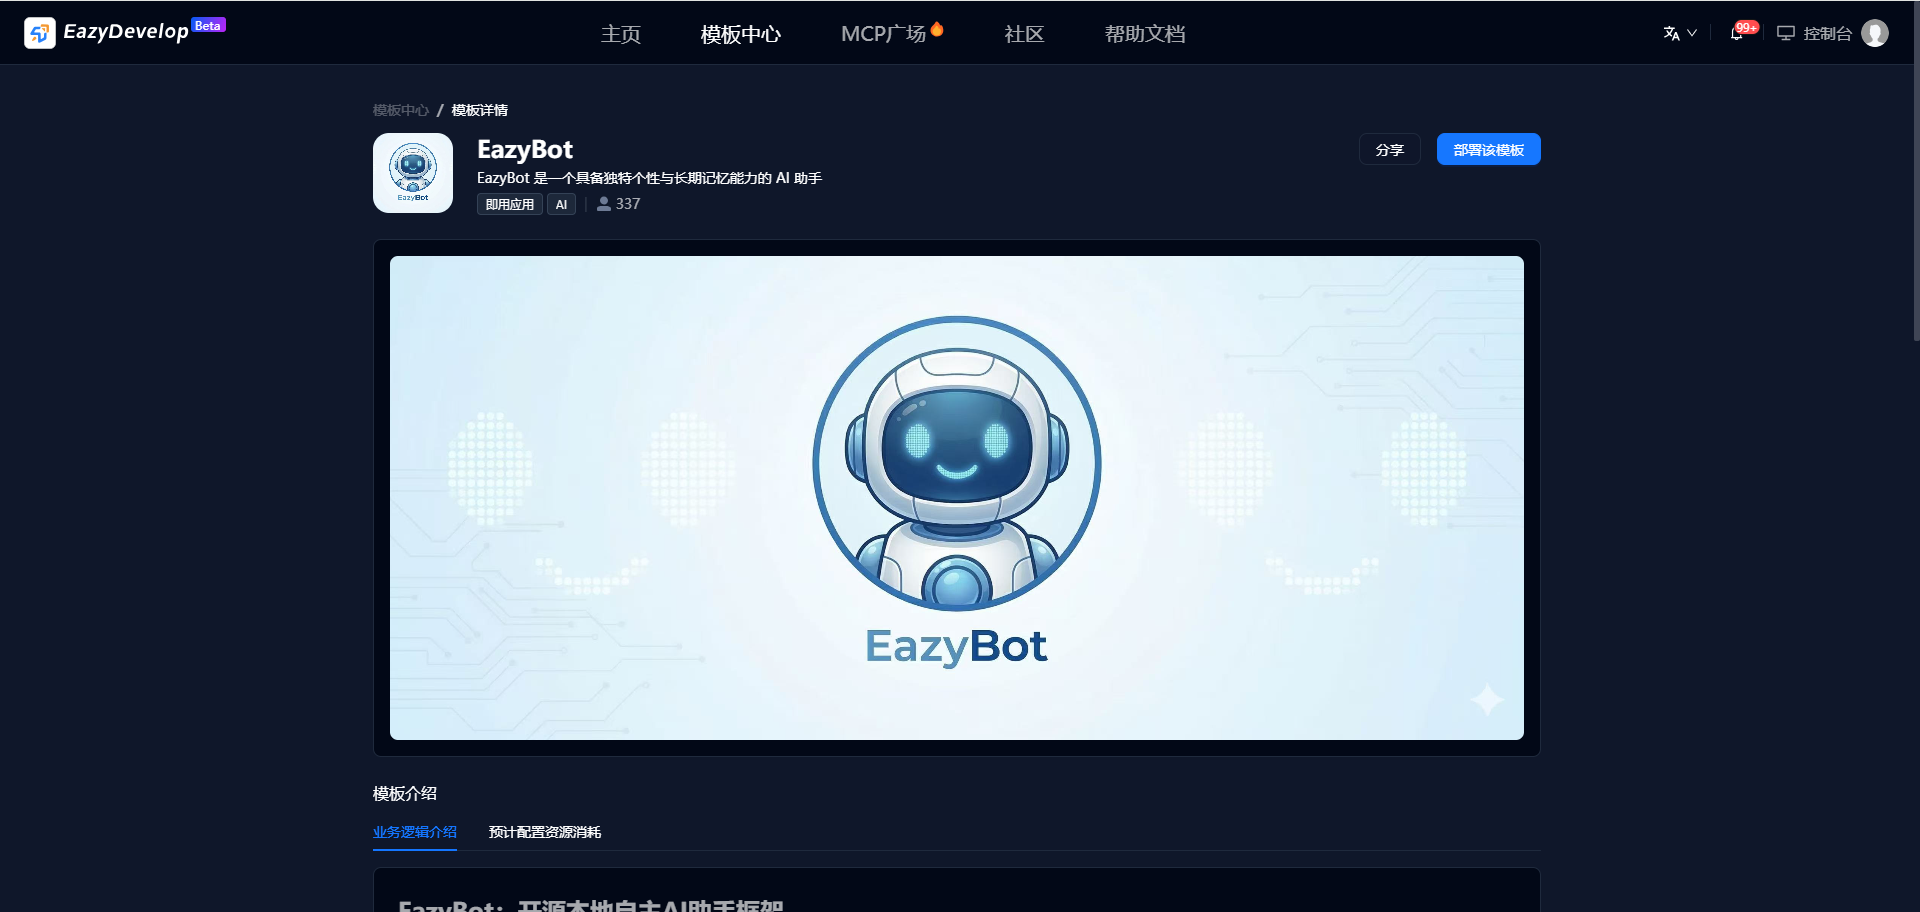
- Open the Eazydevelop Official Website, click Template Center, search for EazyBot, find the template and view its details.
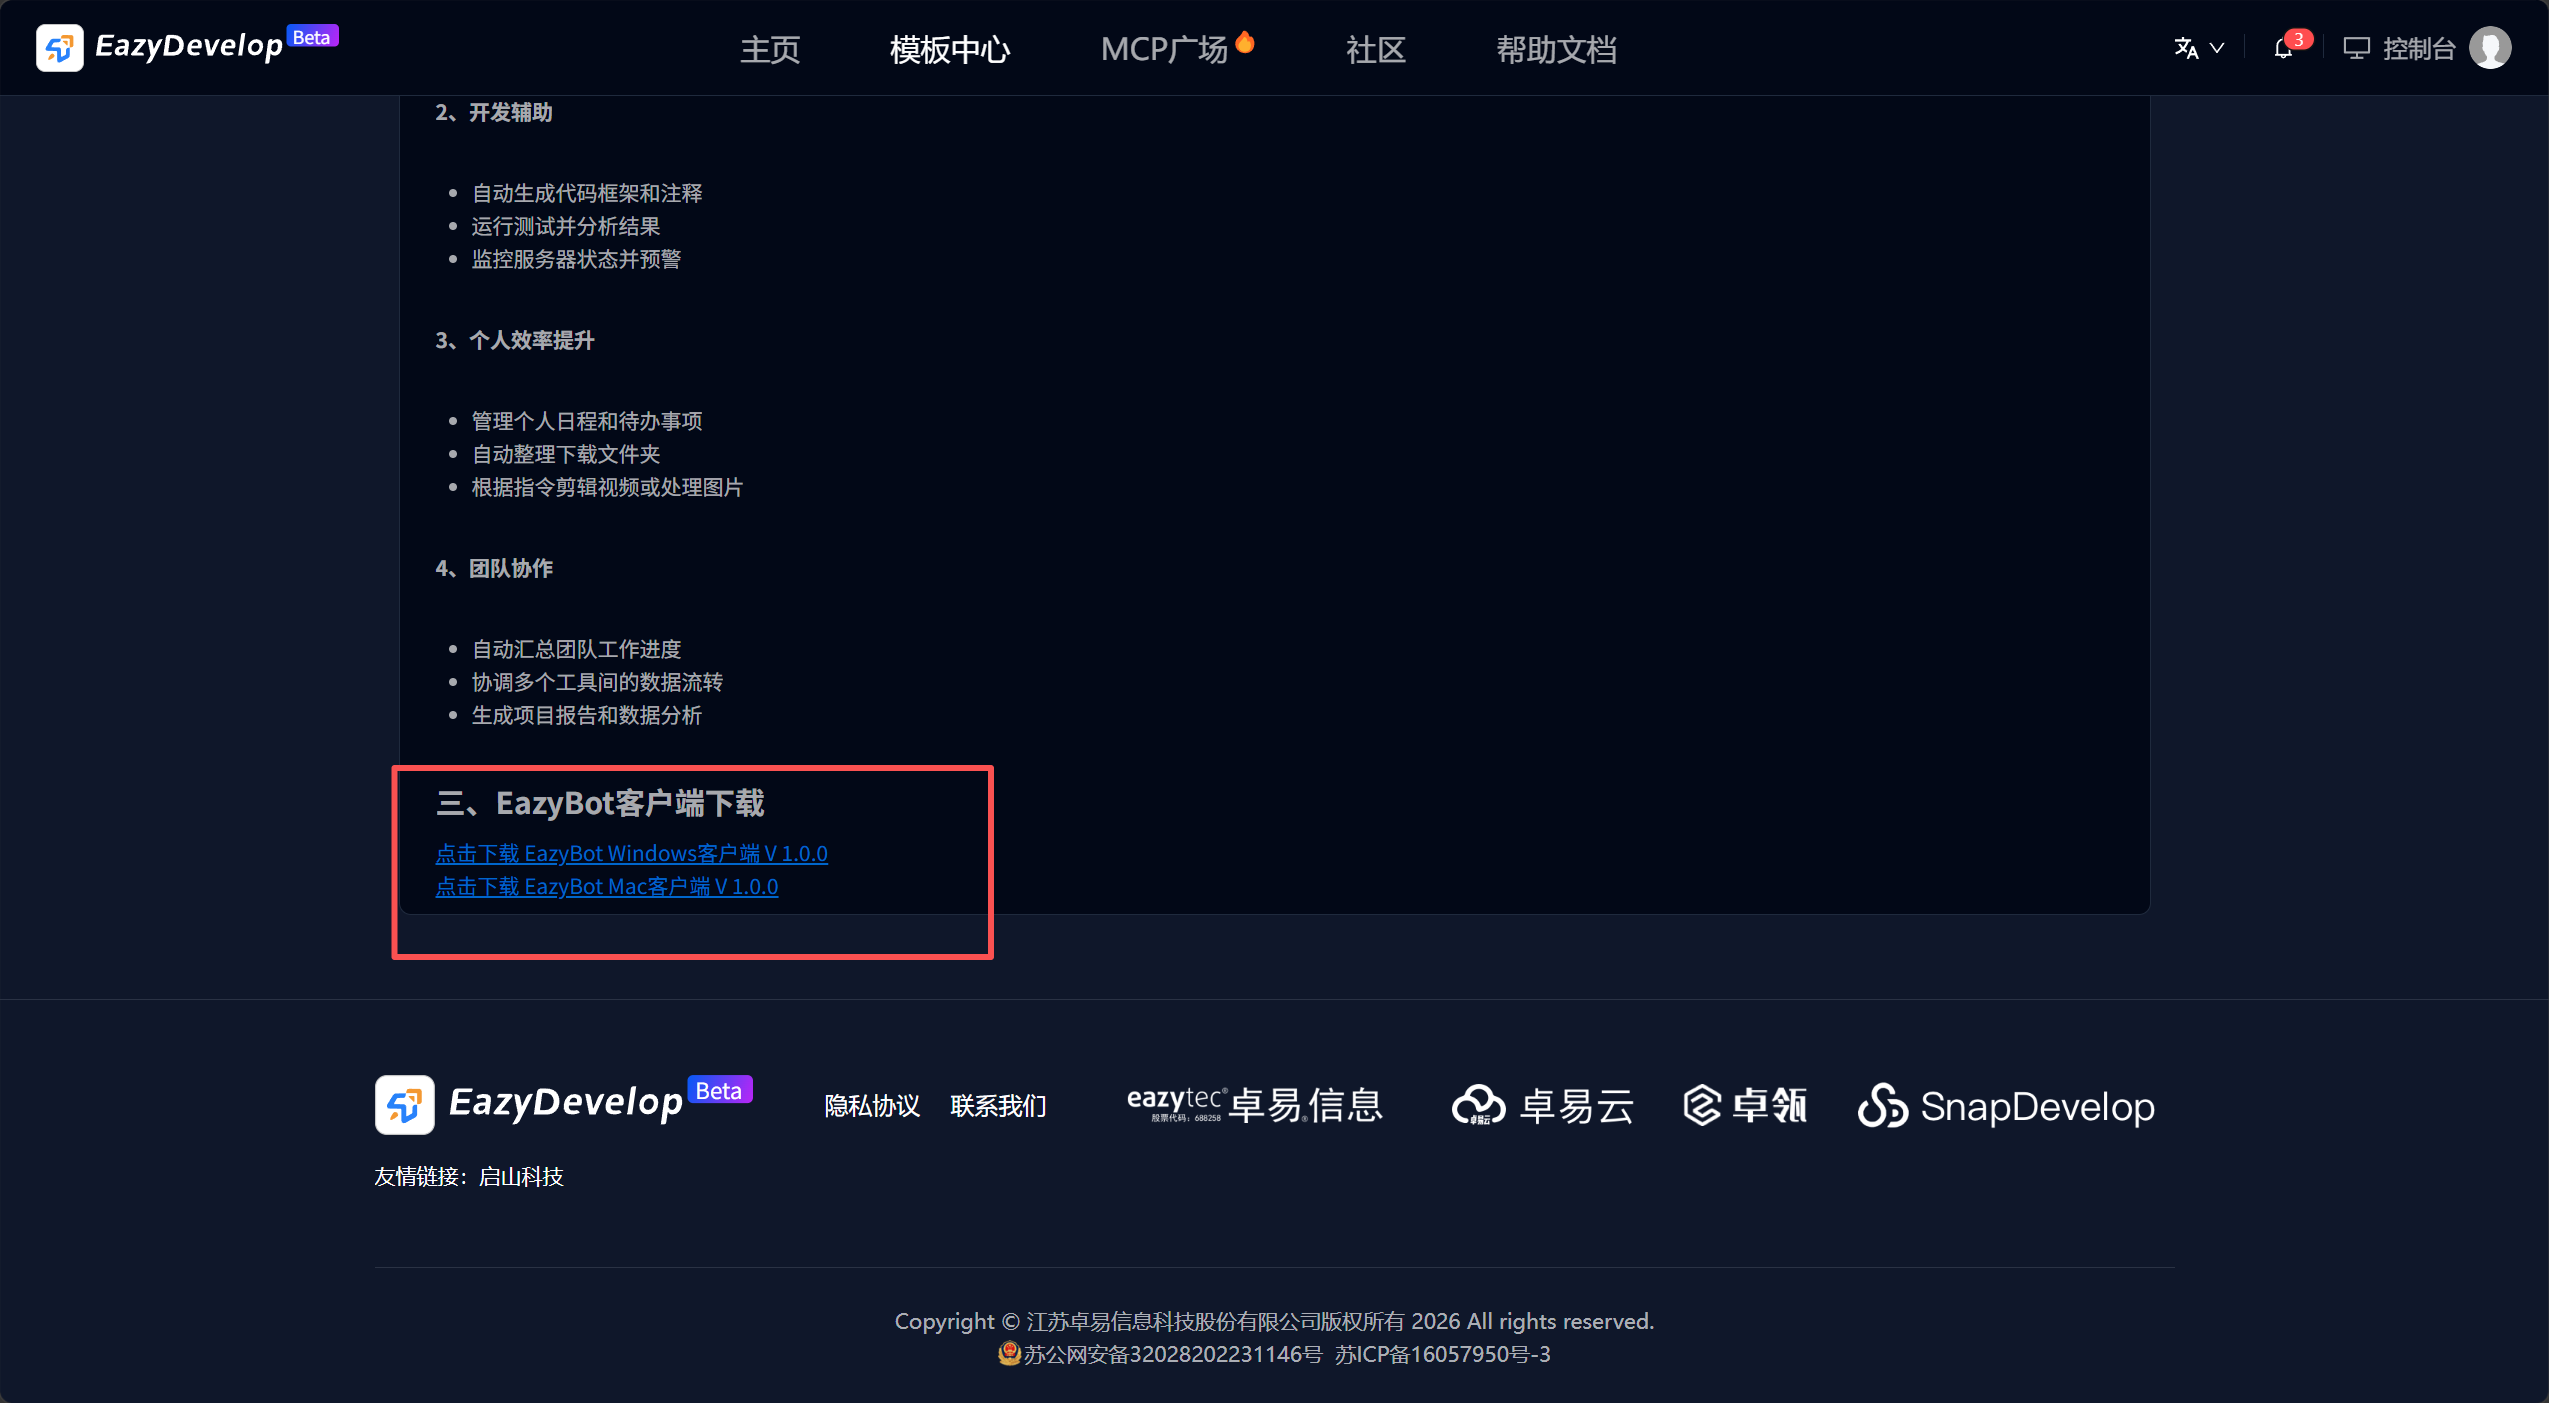
- Scroll to the bottom of the page to find the installation links, click the download link for your platform, and install after downloading.
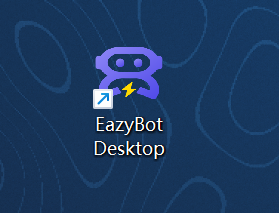
- A shortcut icon will appear on your desktop, click to open it.
2: Web Version Installation
- Open the Eazydevelop Official Website, click Template Center, find the EazyBot template, and view its details.
- Click Deploy this Template to deploy the web version (you need to log in or register first if not already done).

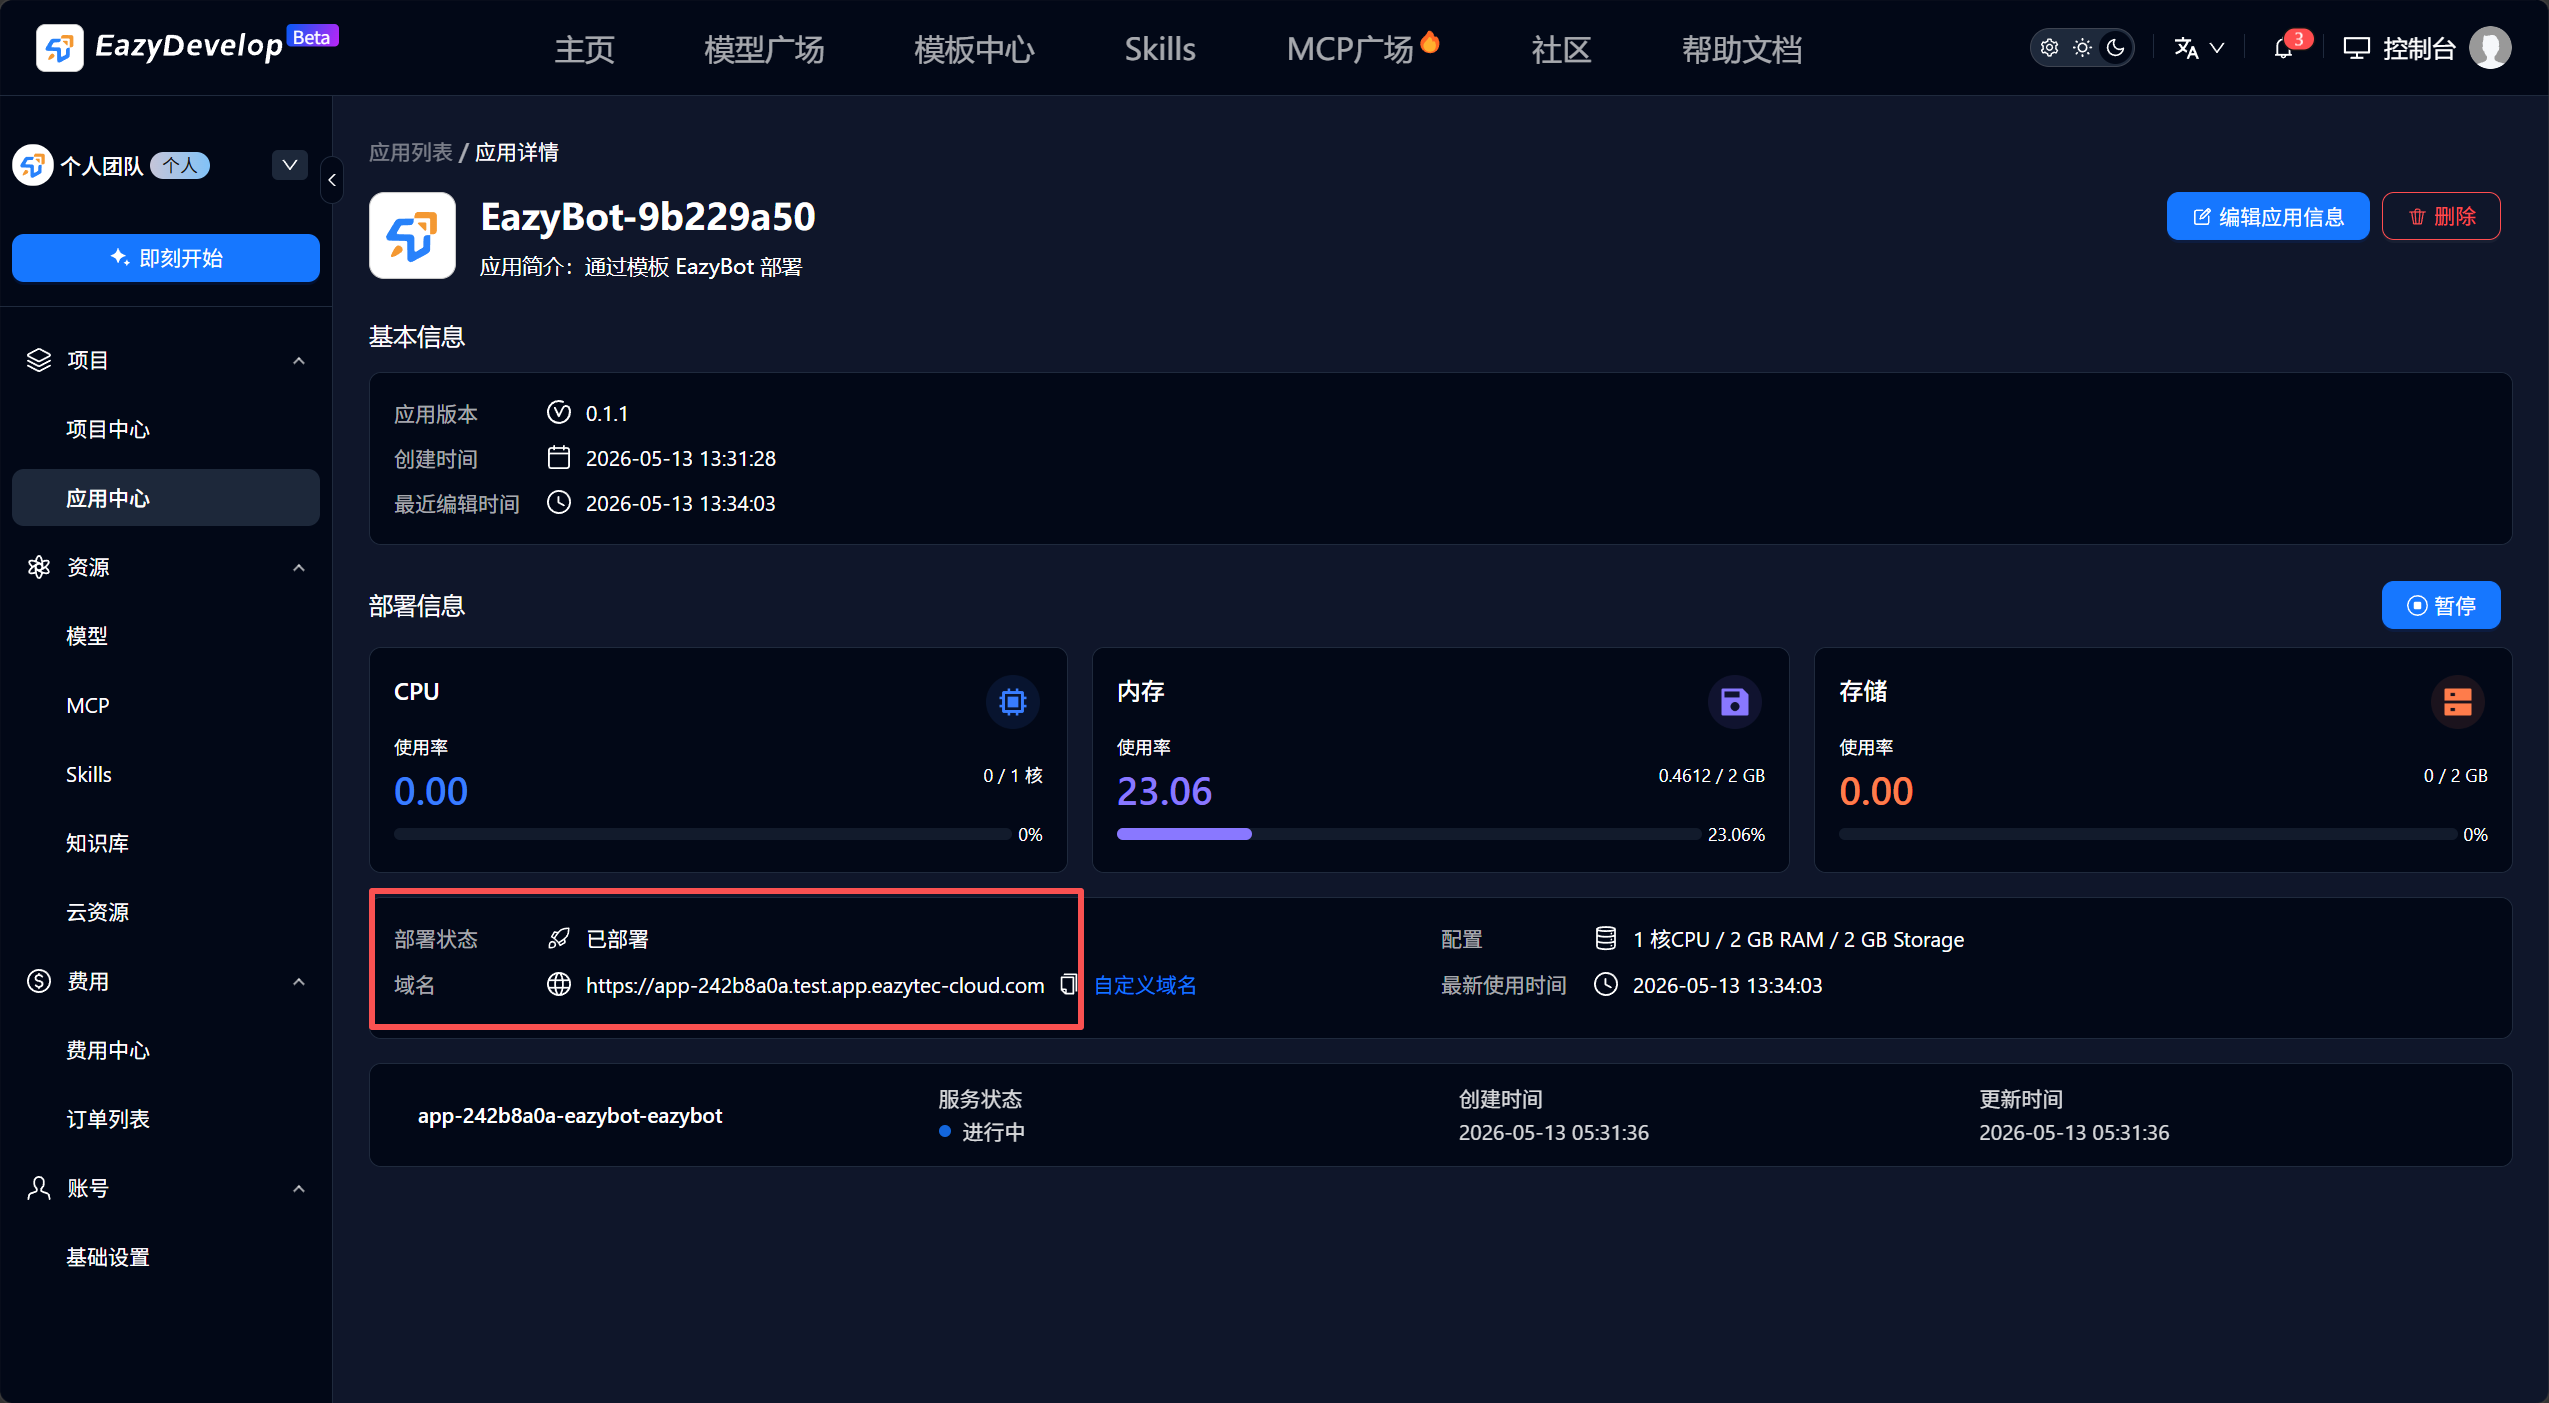
- After the application is successfully created, you will be automatically redirected to the application details page. Wait for the deployment to complete. You can also find the application in the Console - Projects - Application Center and access it via the domain link.
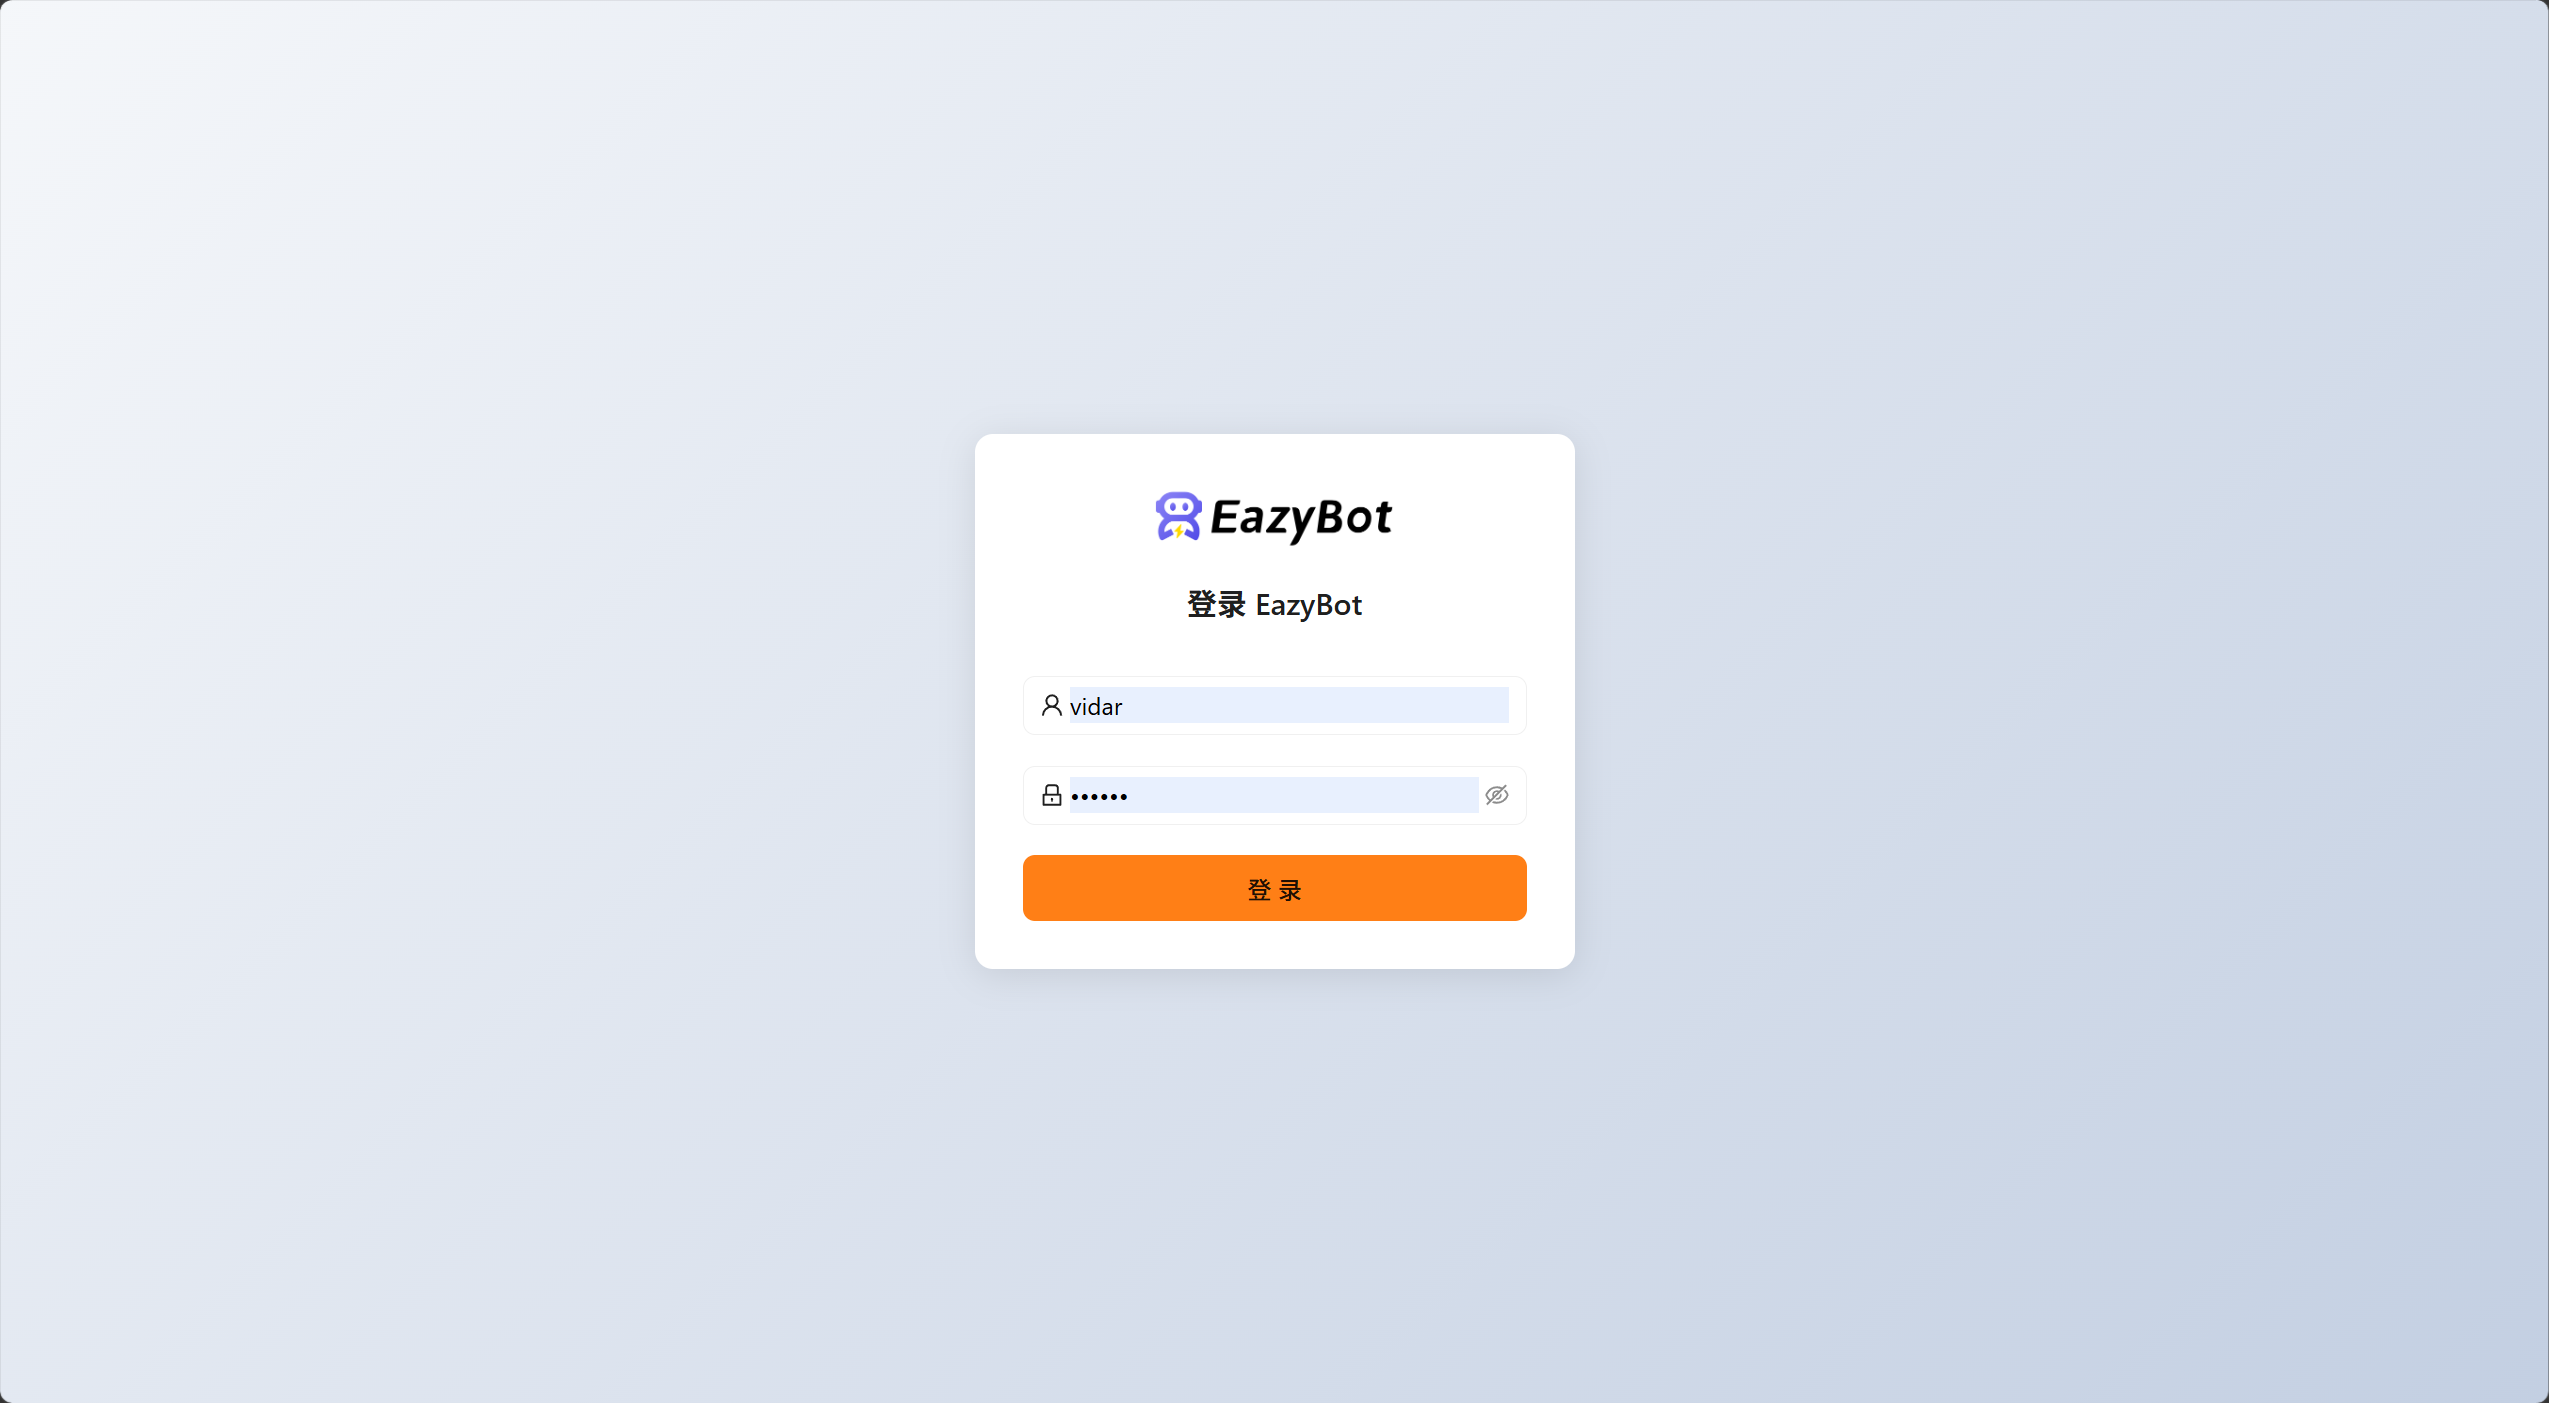
- Set your login username and password on first use, and log in with these credentials afterwards.
3. Configure Model
1: Configure API Key
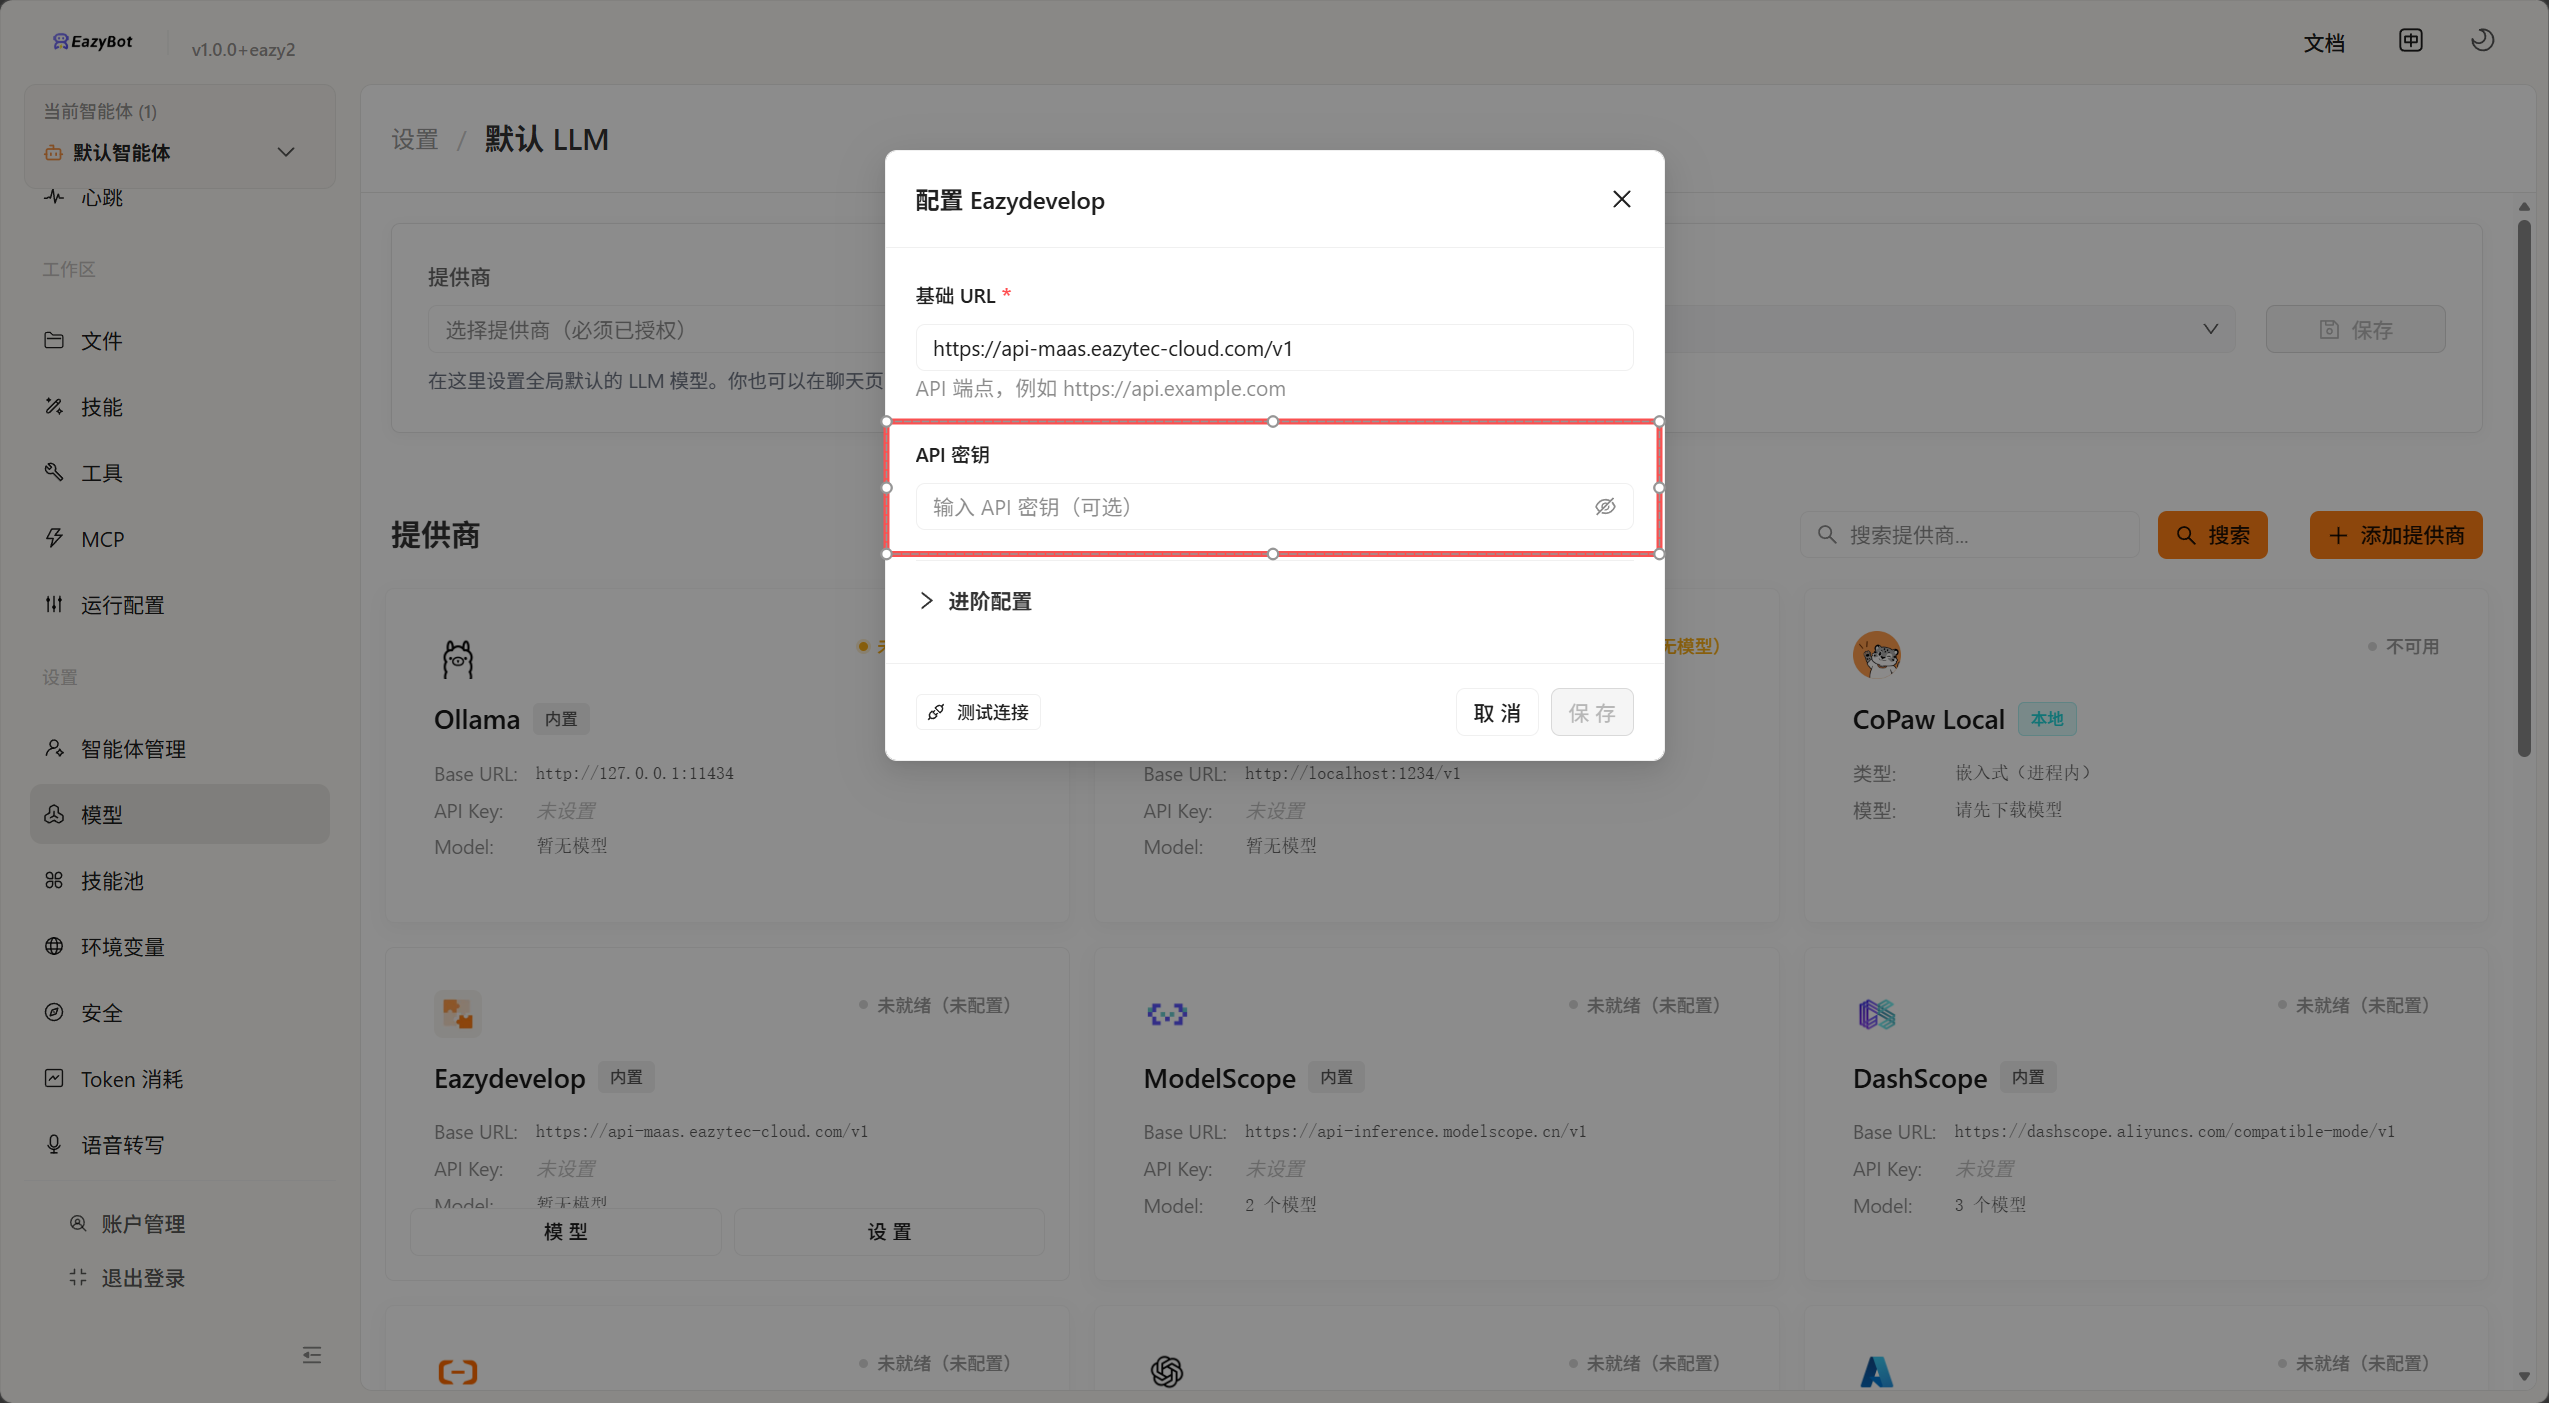
In EazyBot, select Settings - Model from the left sidebar. The EazyDevelop model provider is built-in. Click Settings and fill in the API key.
2: Add Model
Click Model under the provider that has been configured with a key:
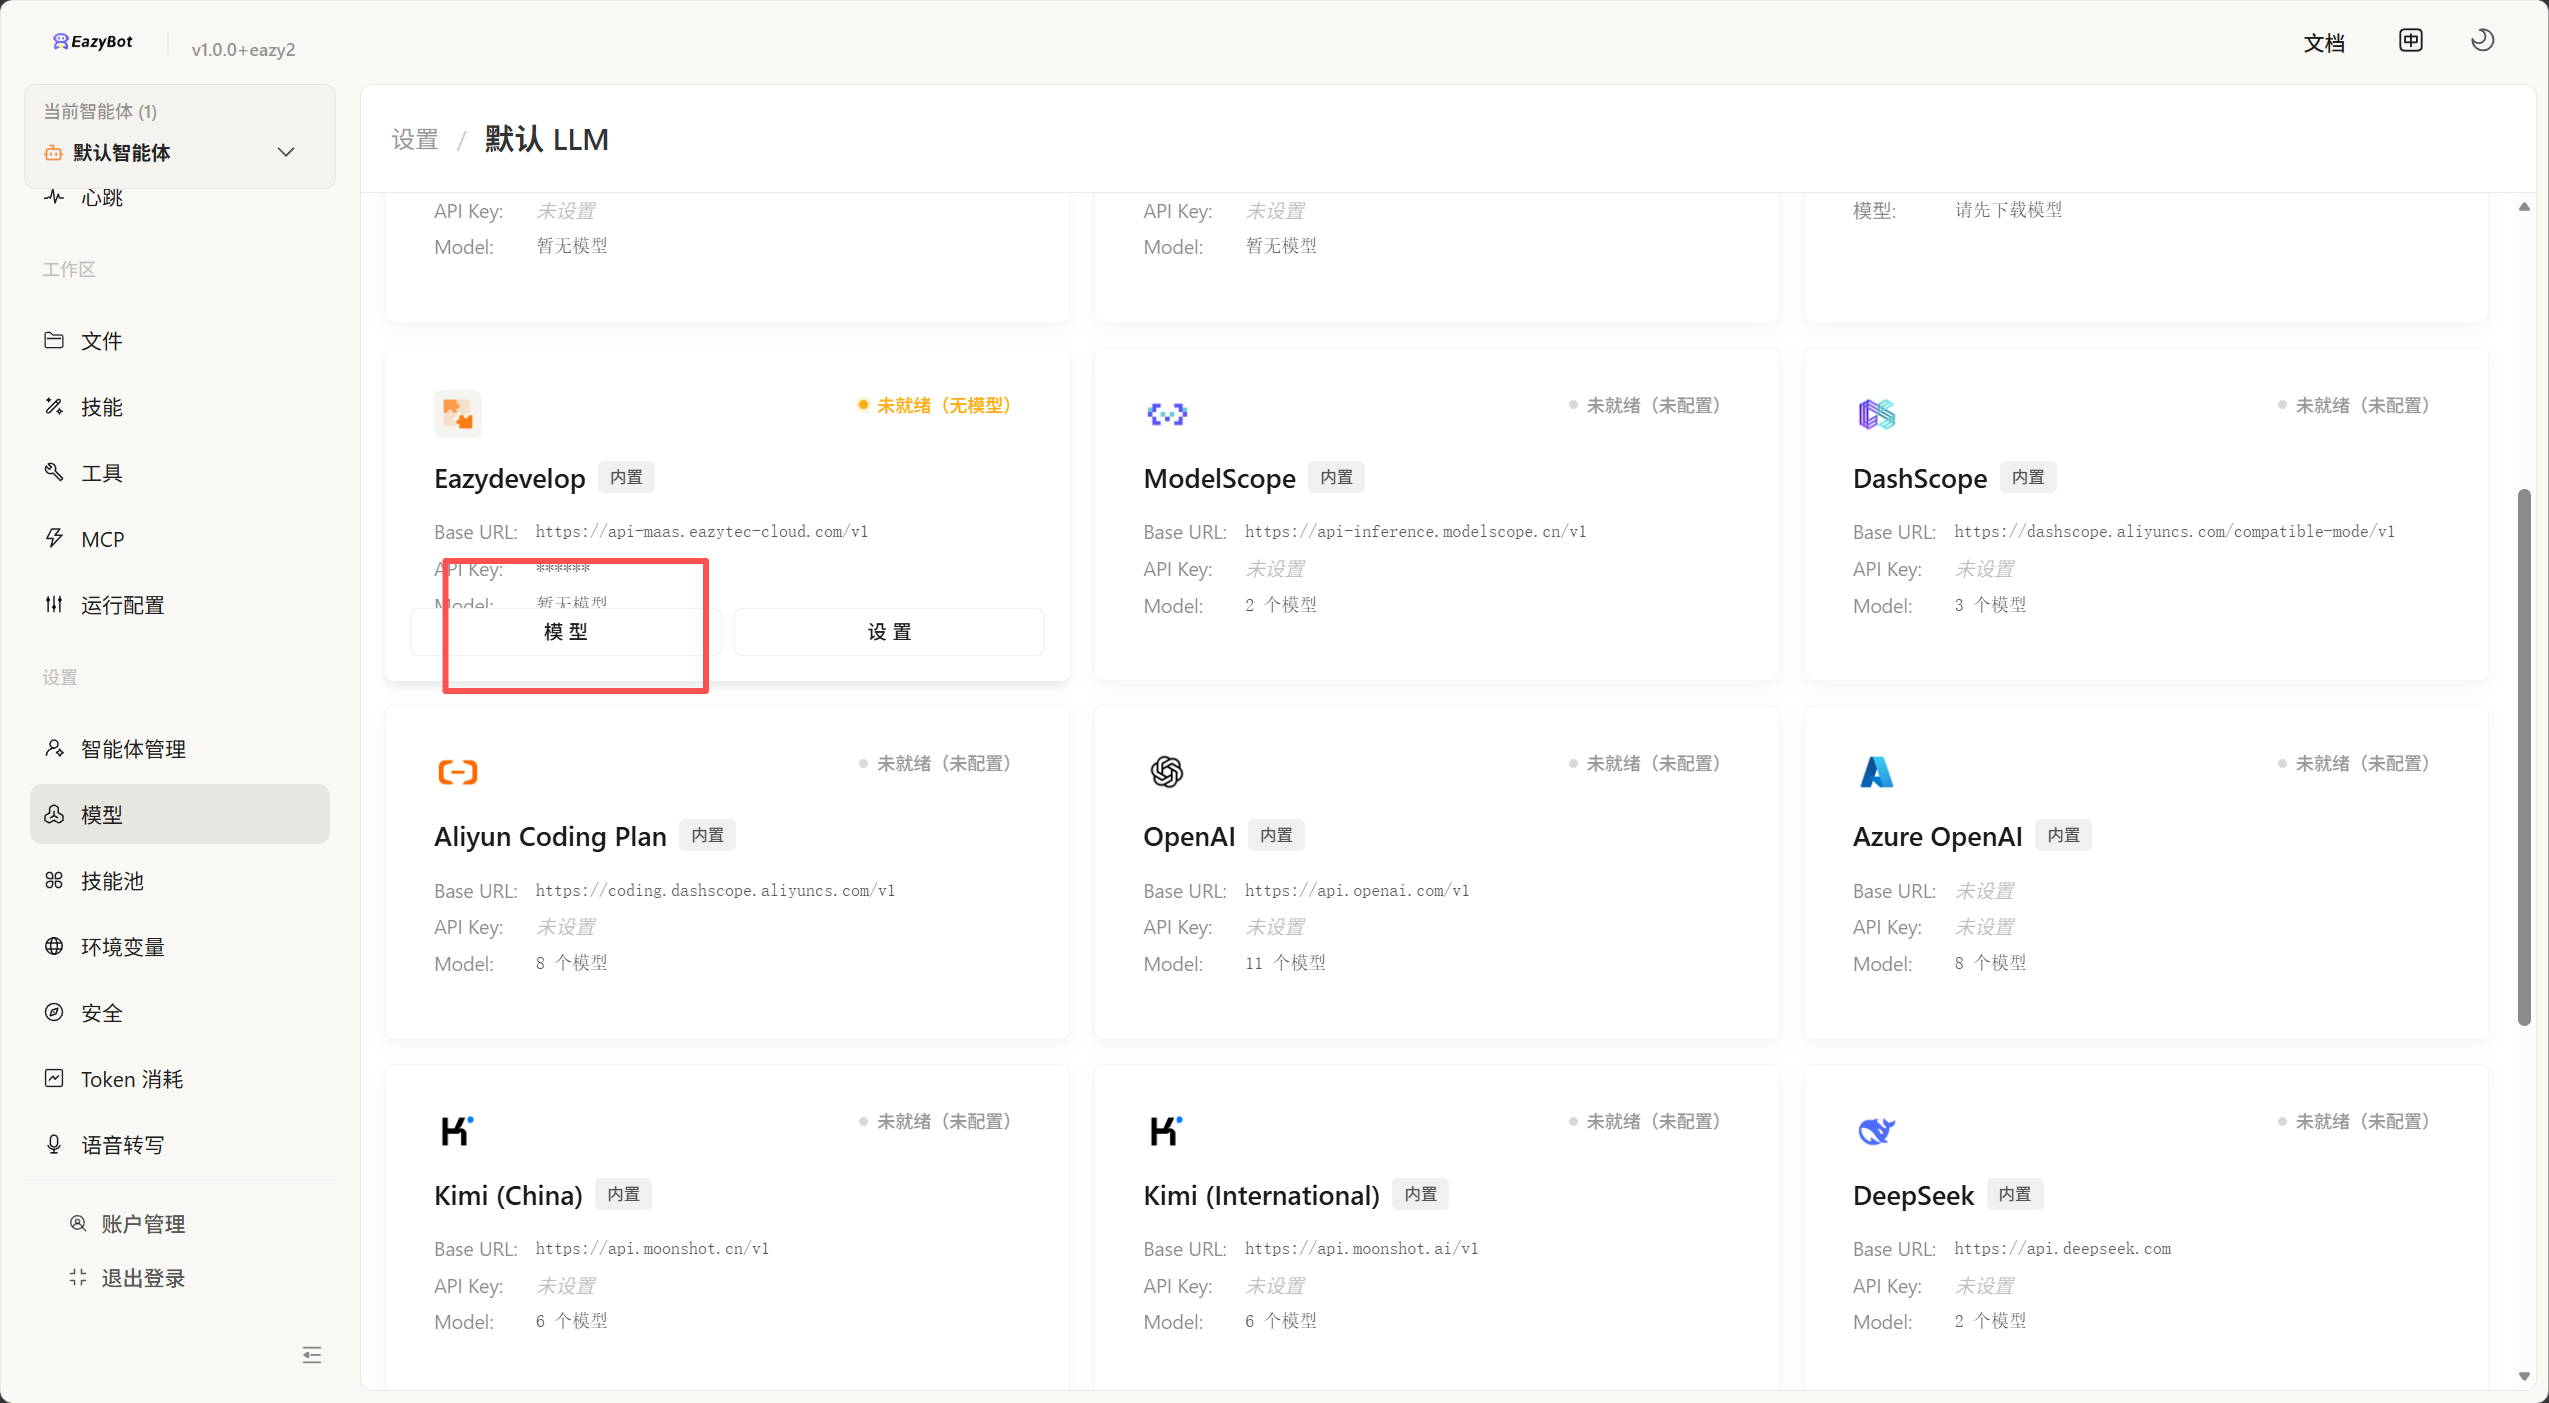
Click Auto-fetch Models, which will automatically retrieve the models you have activated in EazyDevelop.
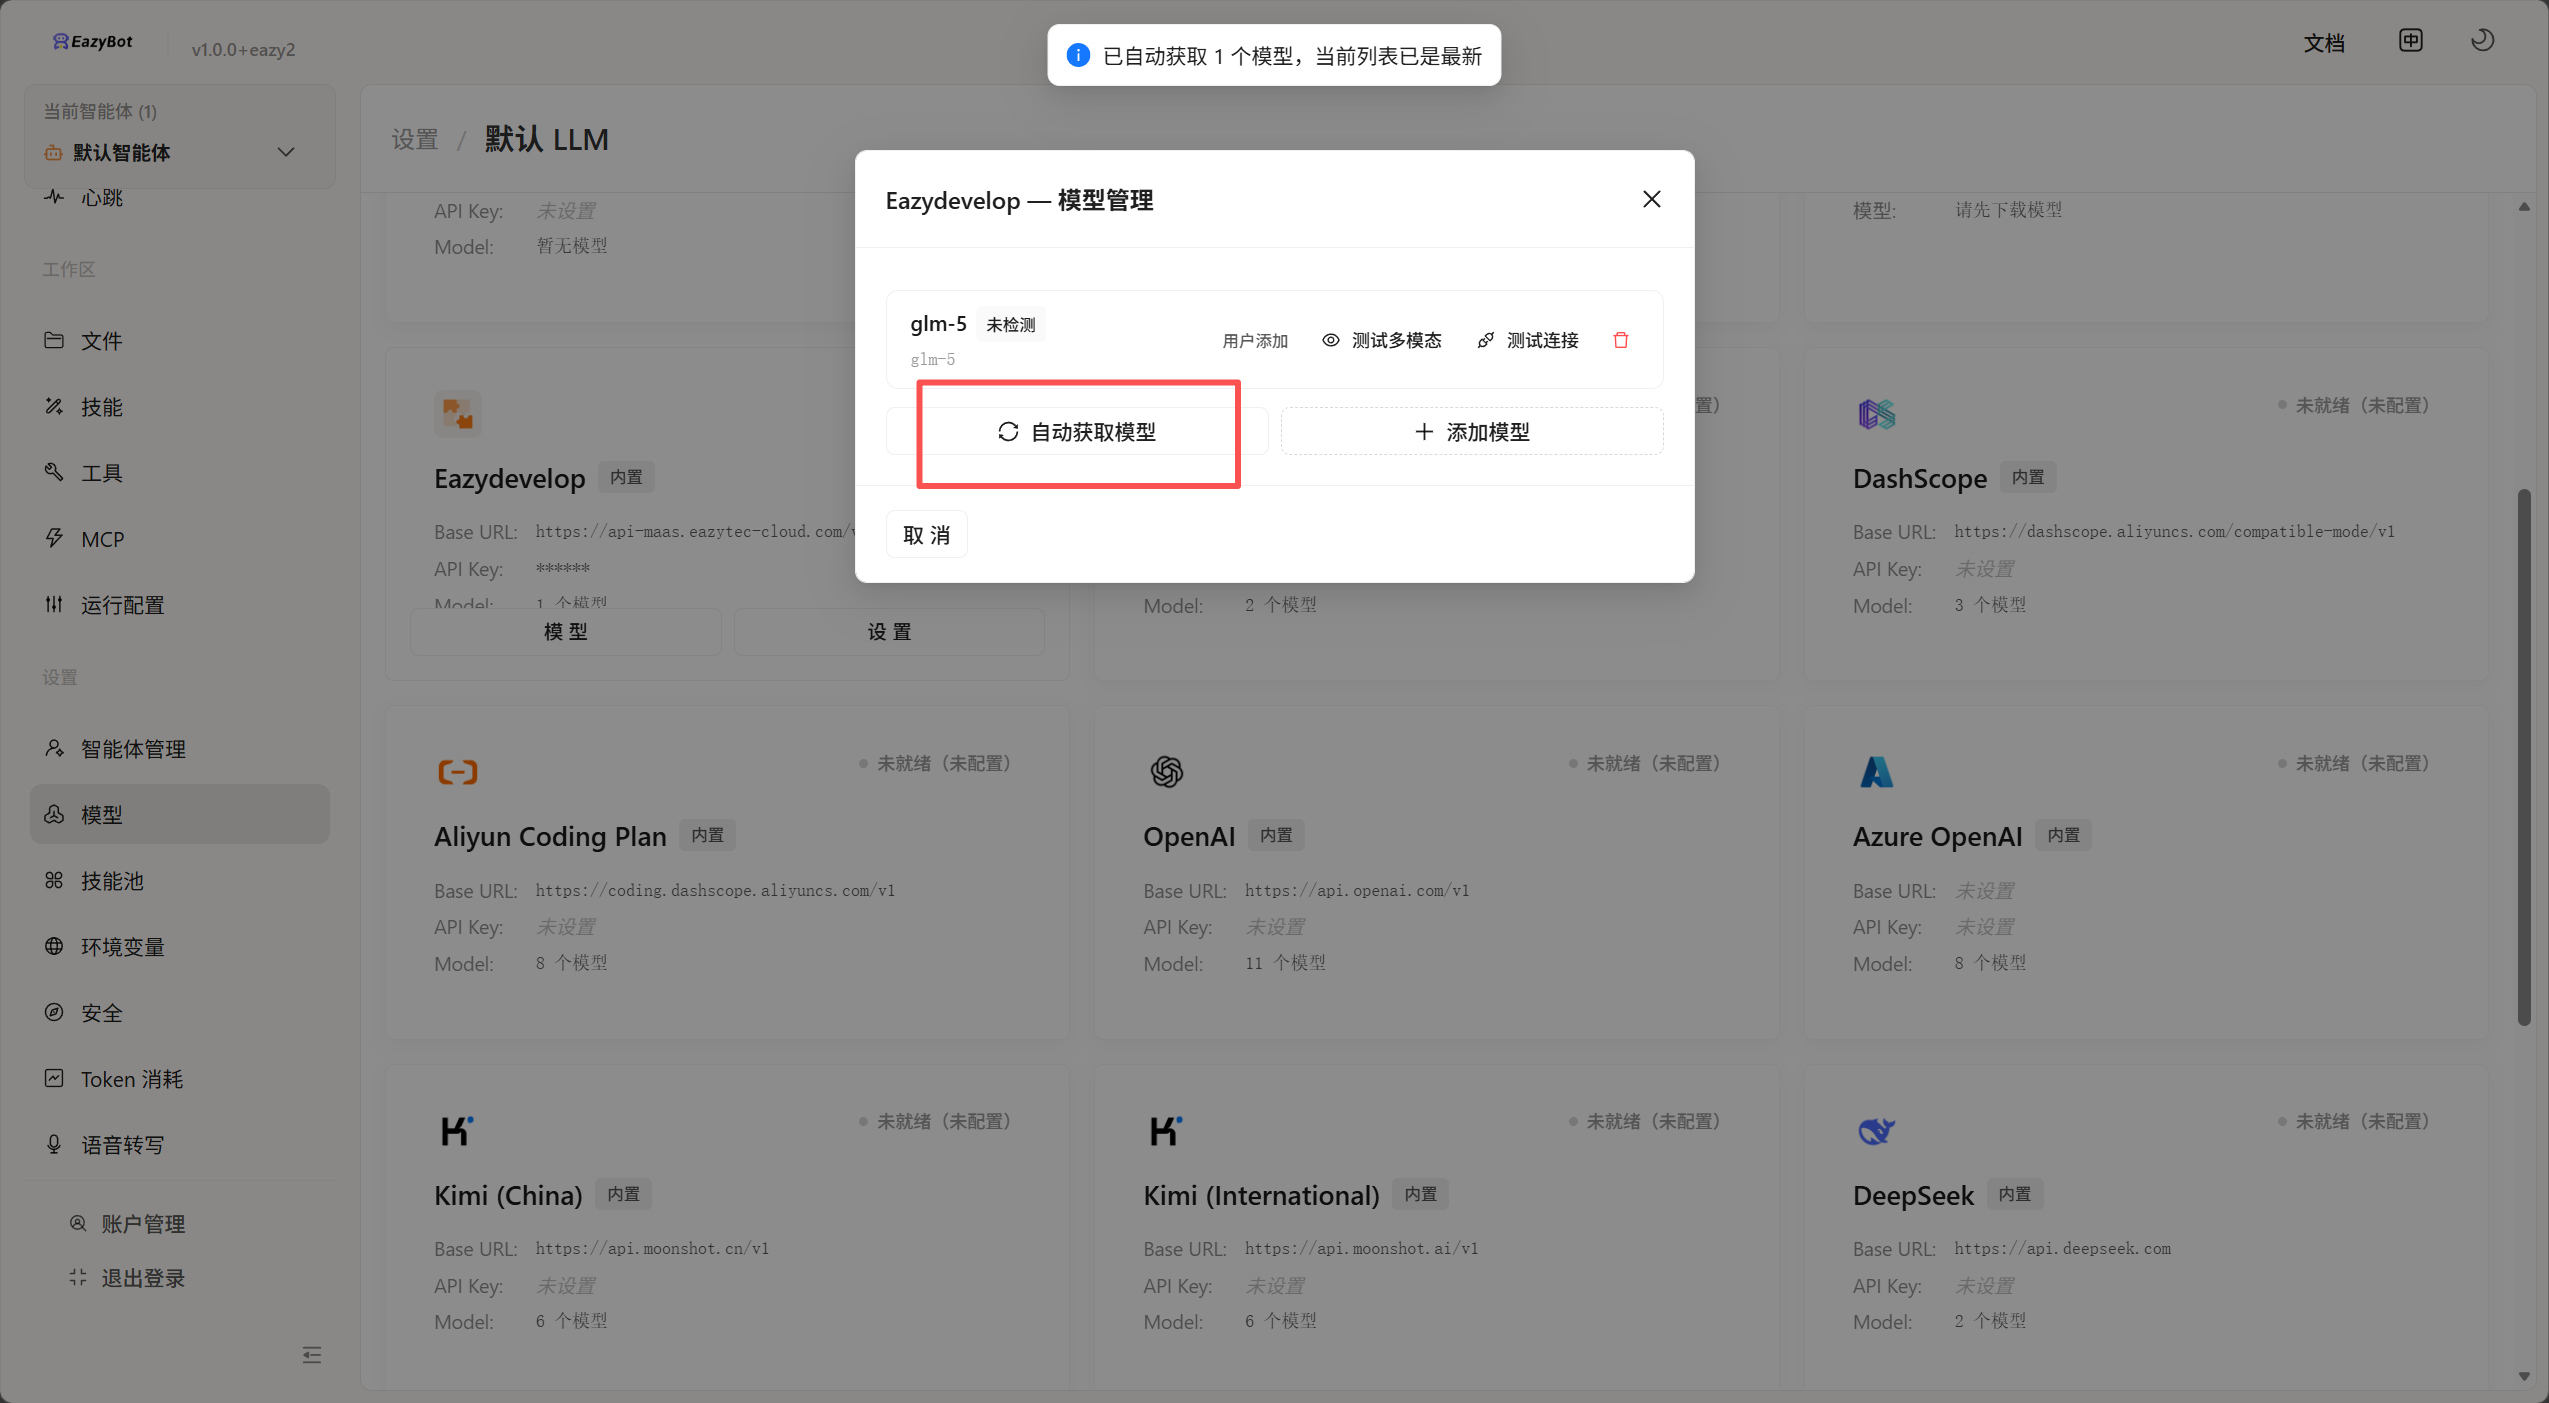
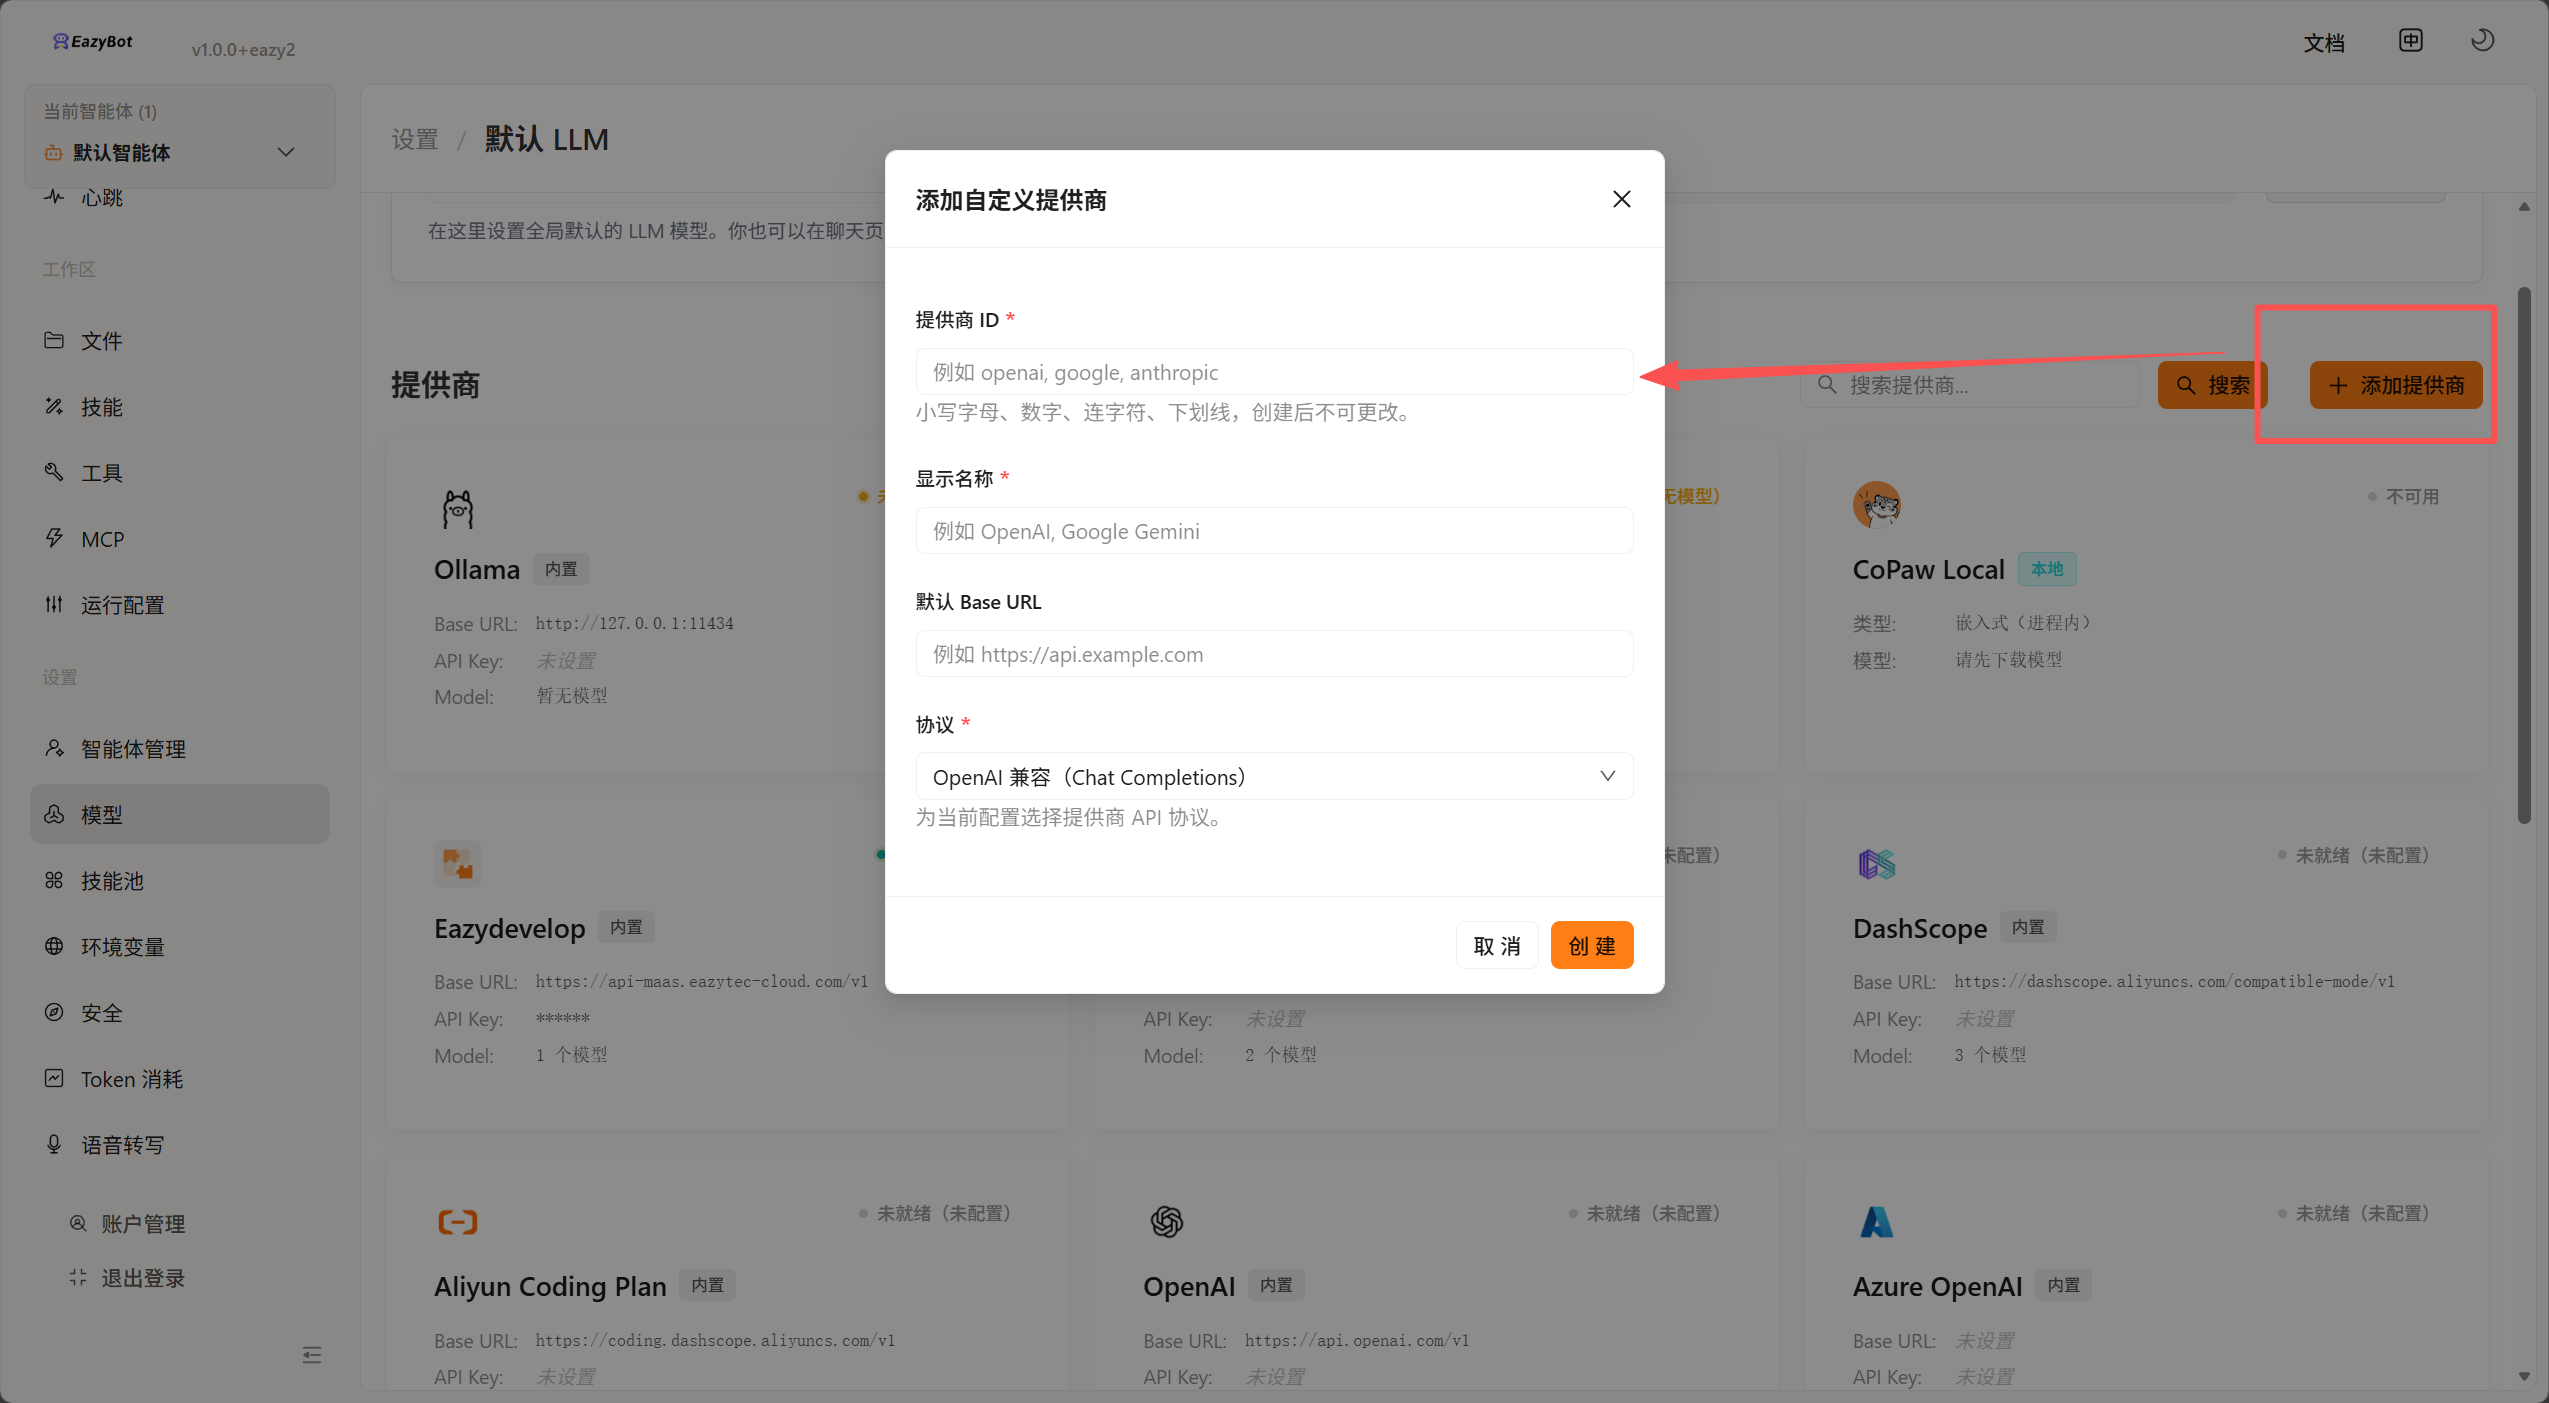
If you want to connect to other providers, you can find the corresponding provider and add models, or add a provider yourself.
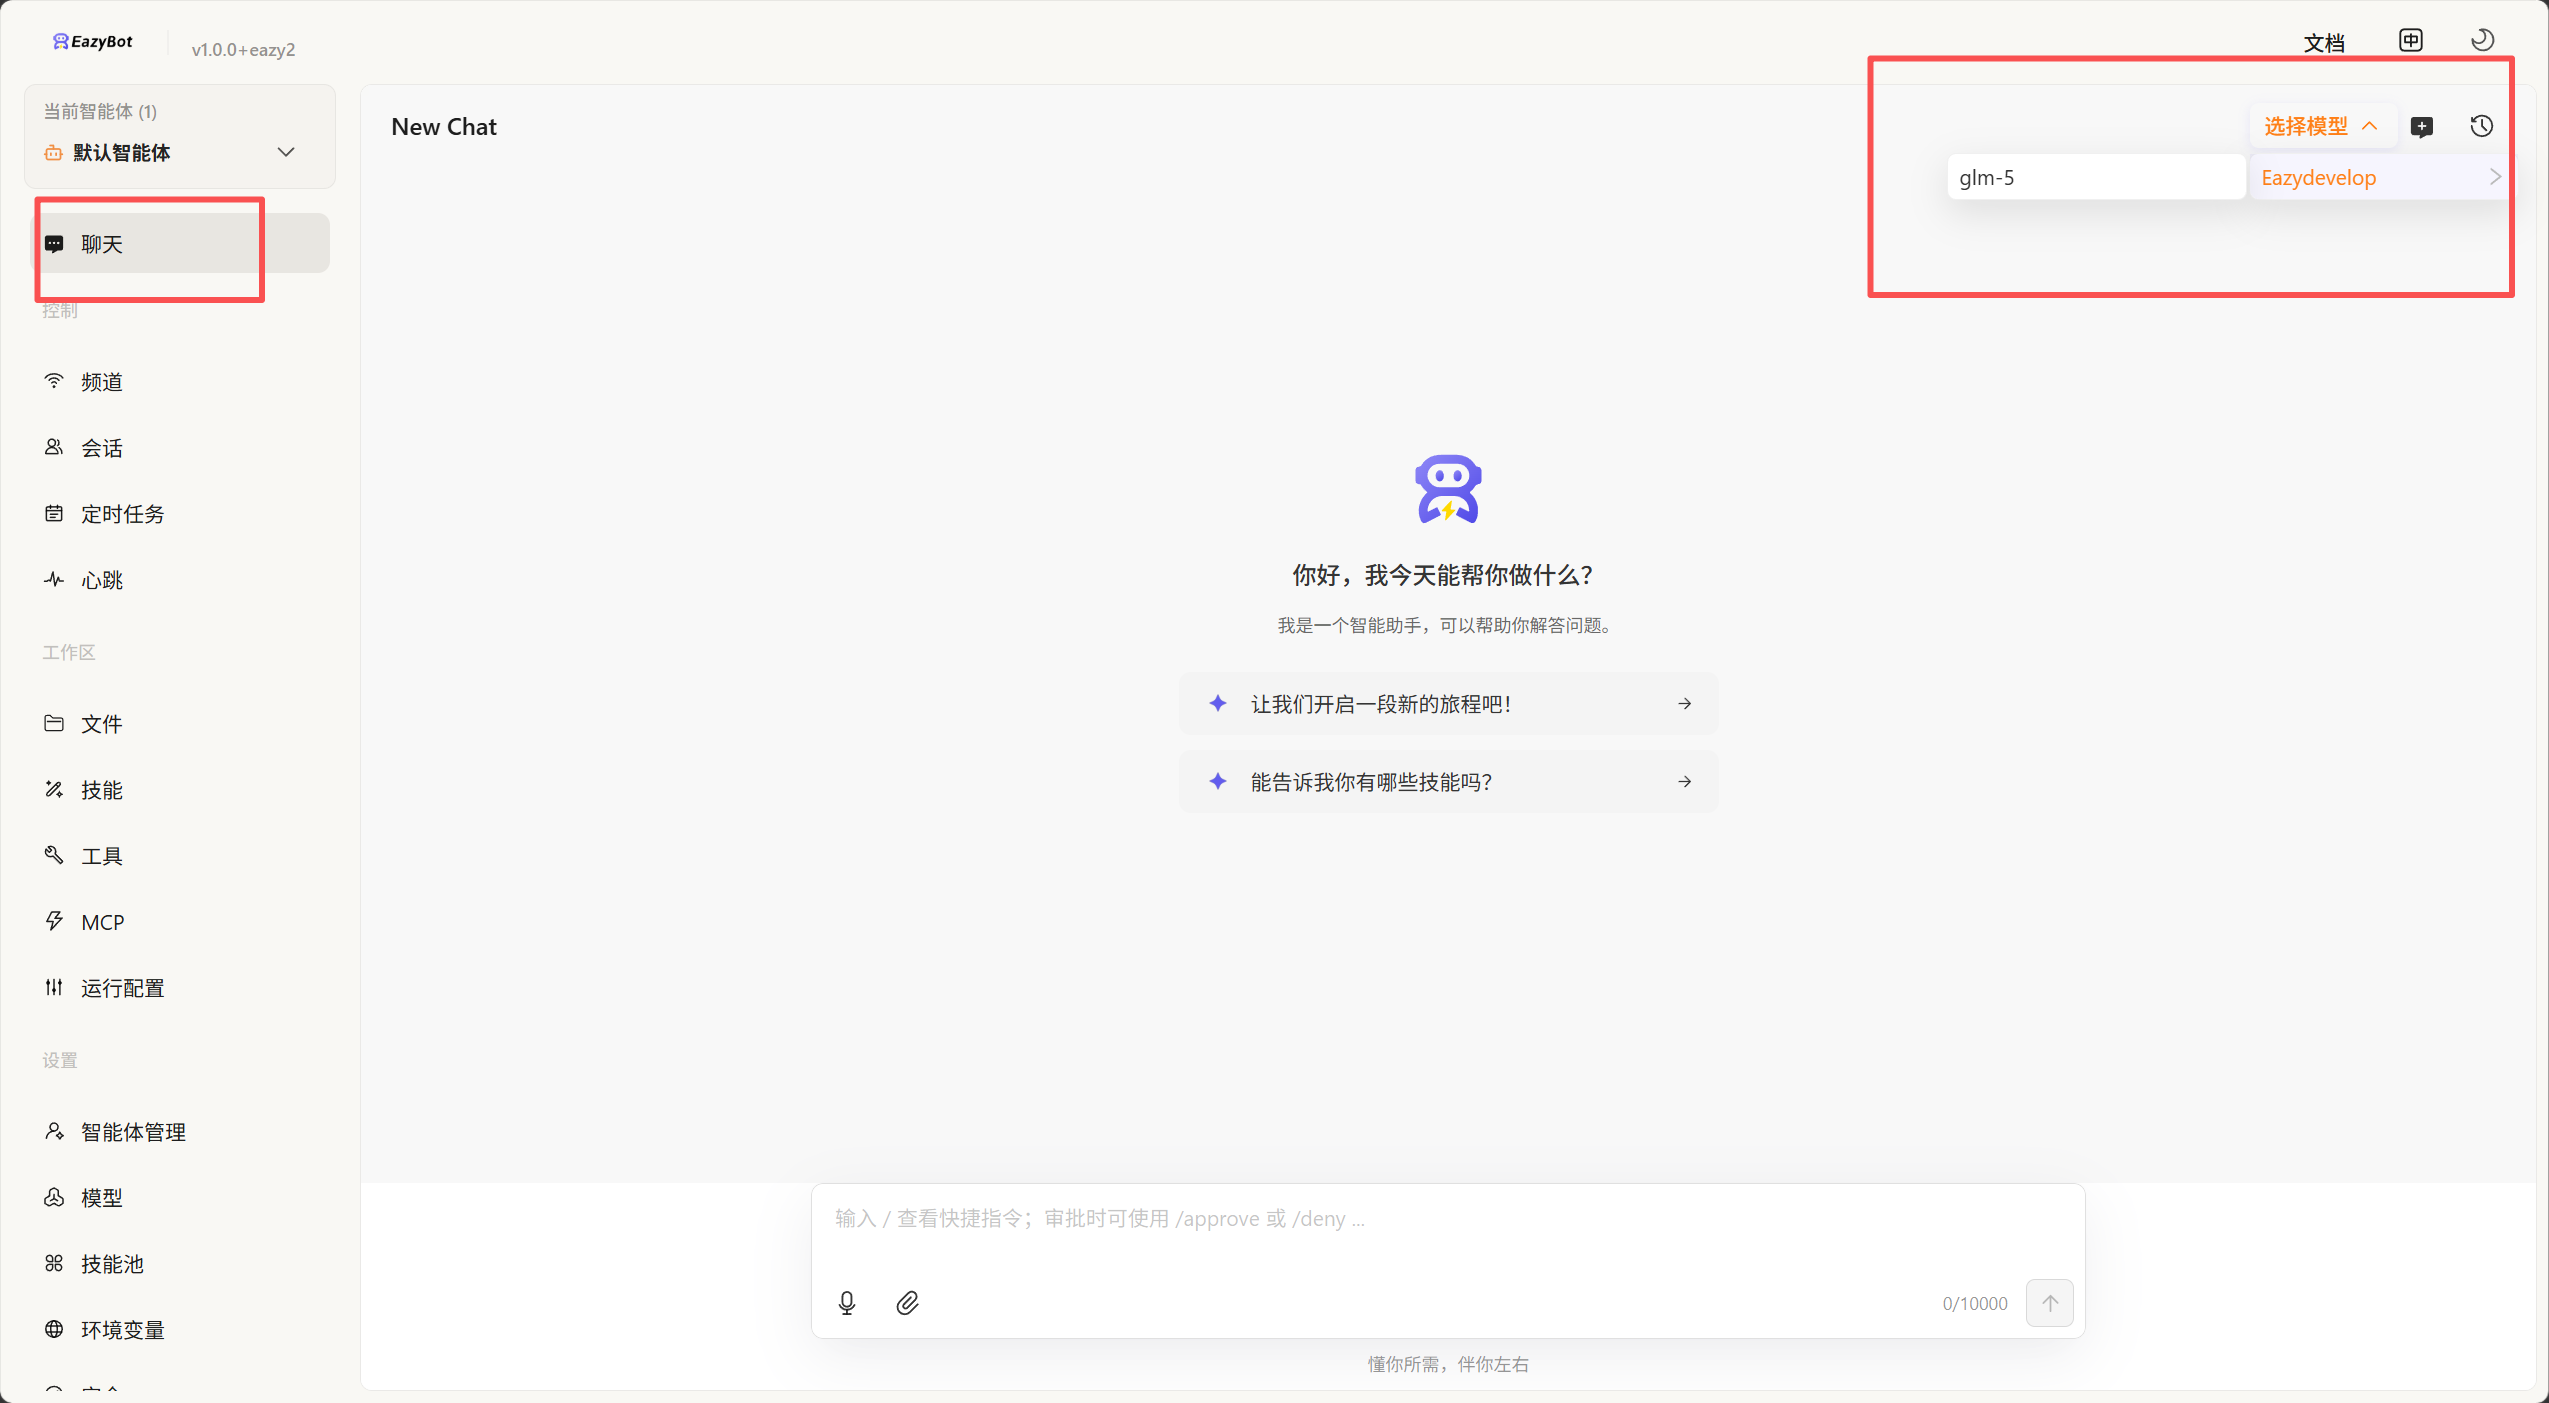
4. Chat
After adding models, click Chat - Select Model, configure the model, and you can start a conversation.
5. Configure Skills
If you want EazyBot to have more specialized knowledge or to answer according to specified processes and formats, you can use Skills.
1: Add Skill Methods
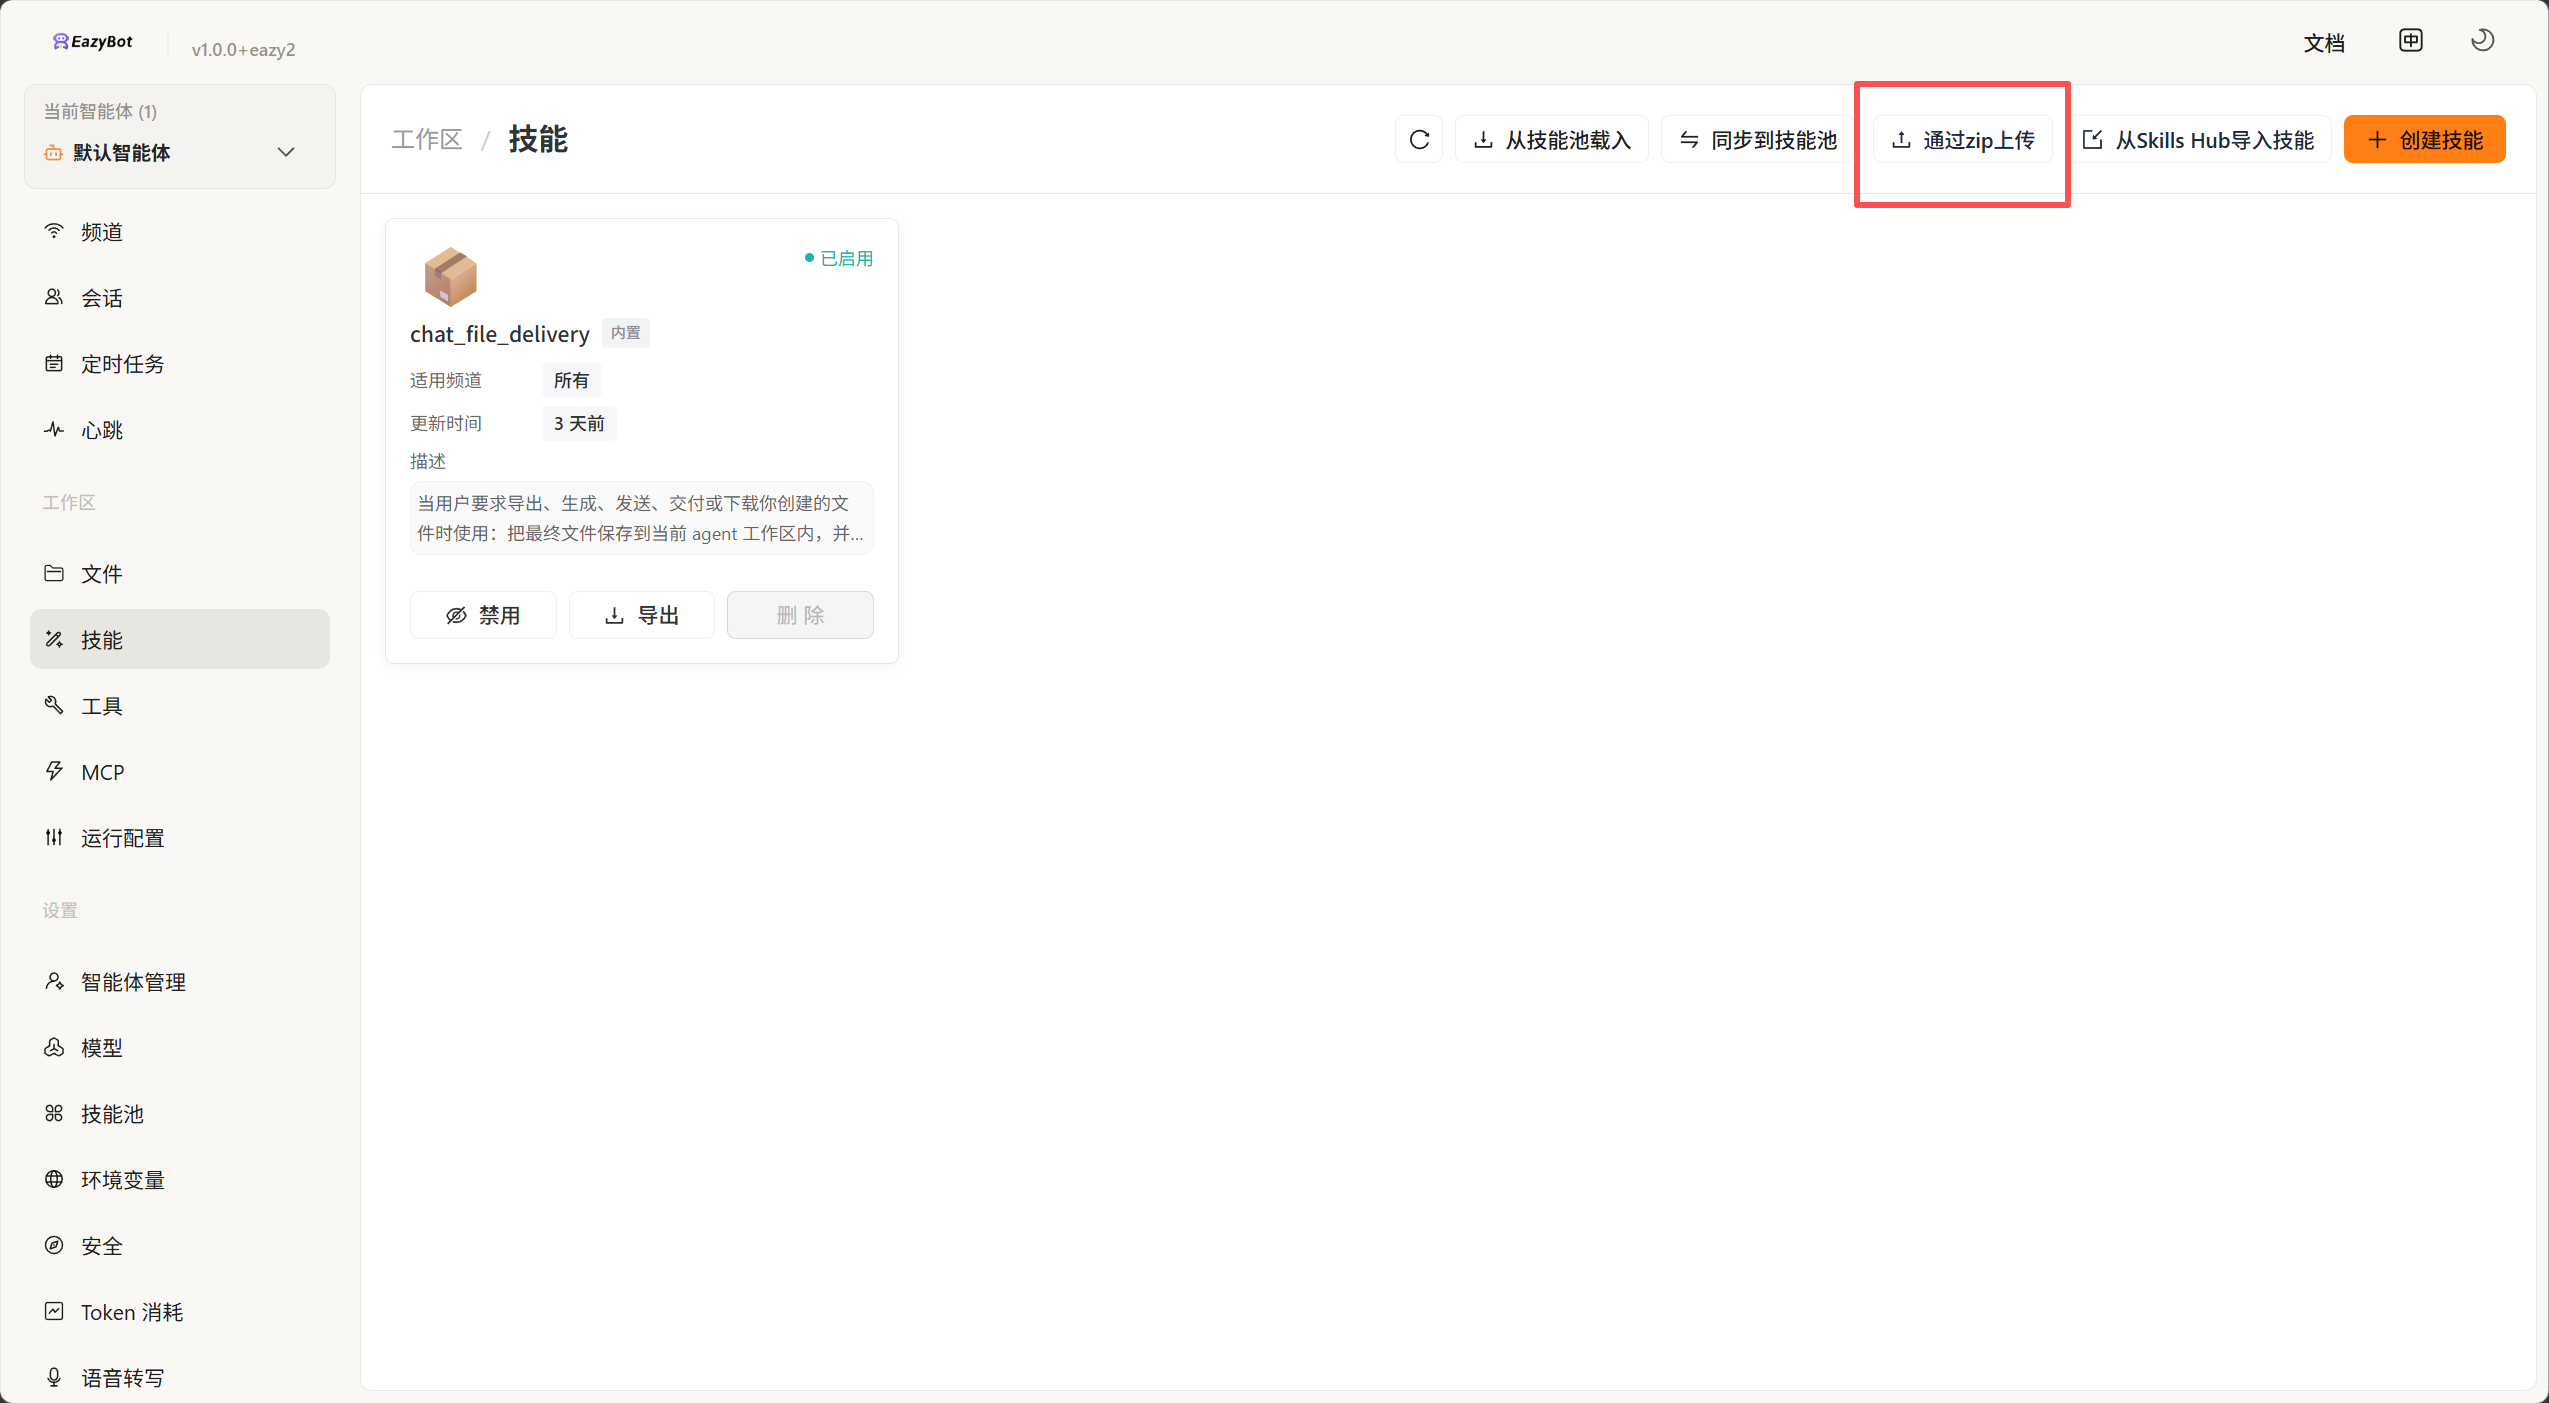
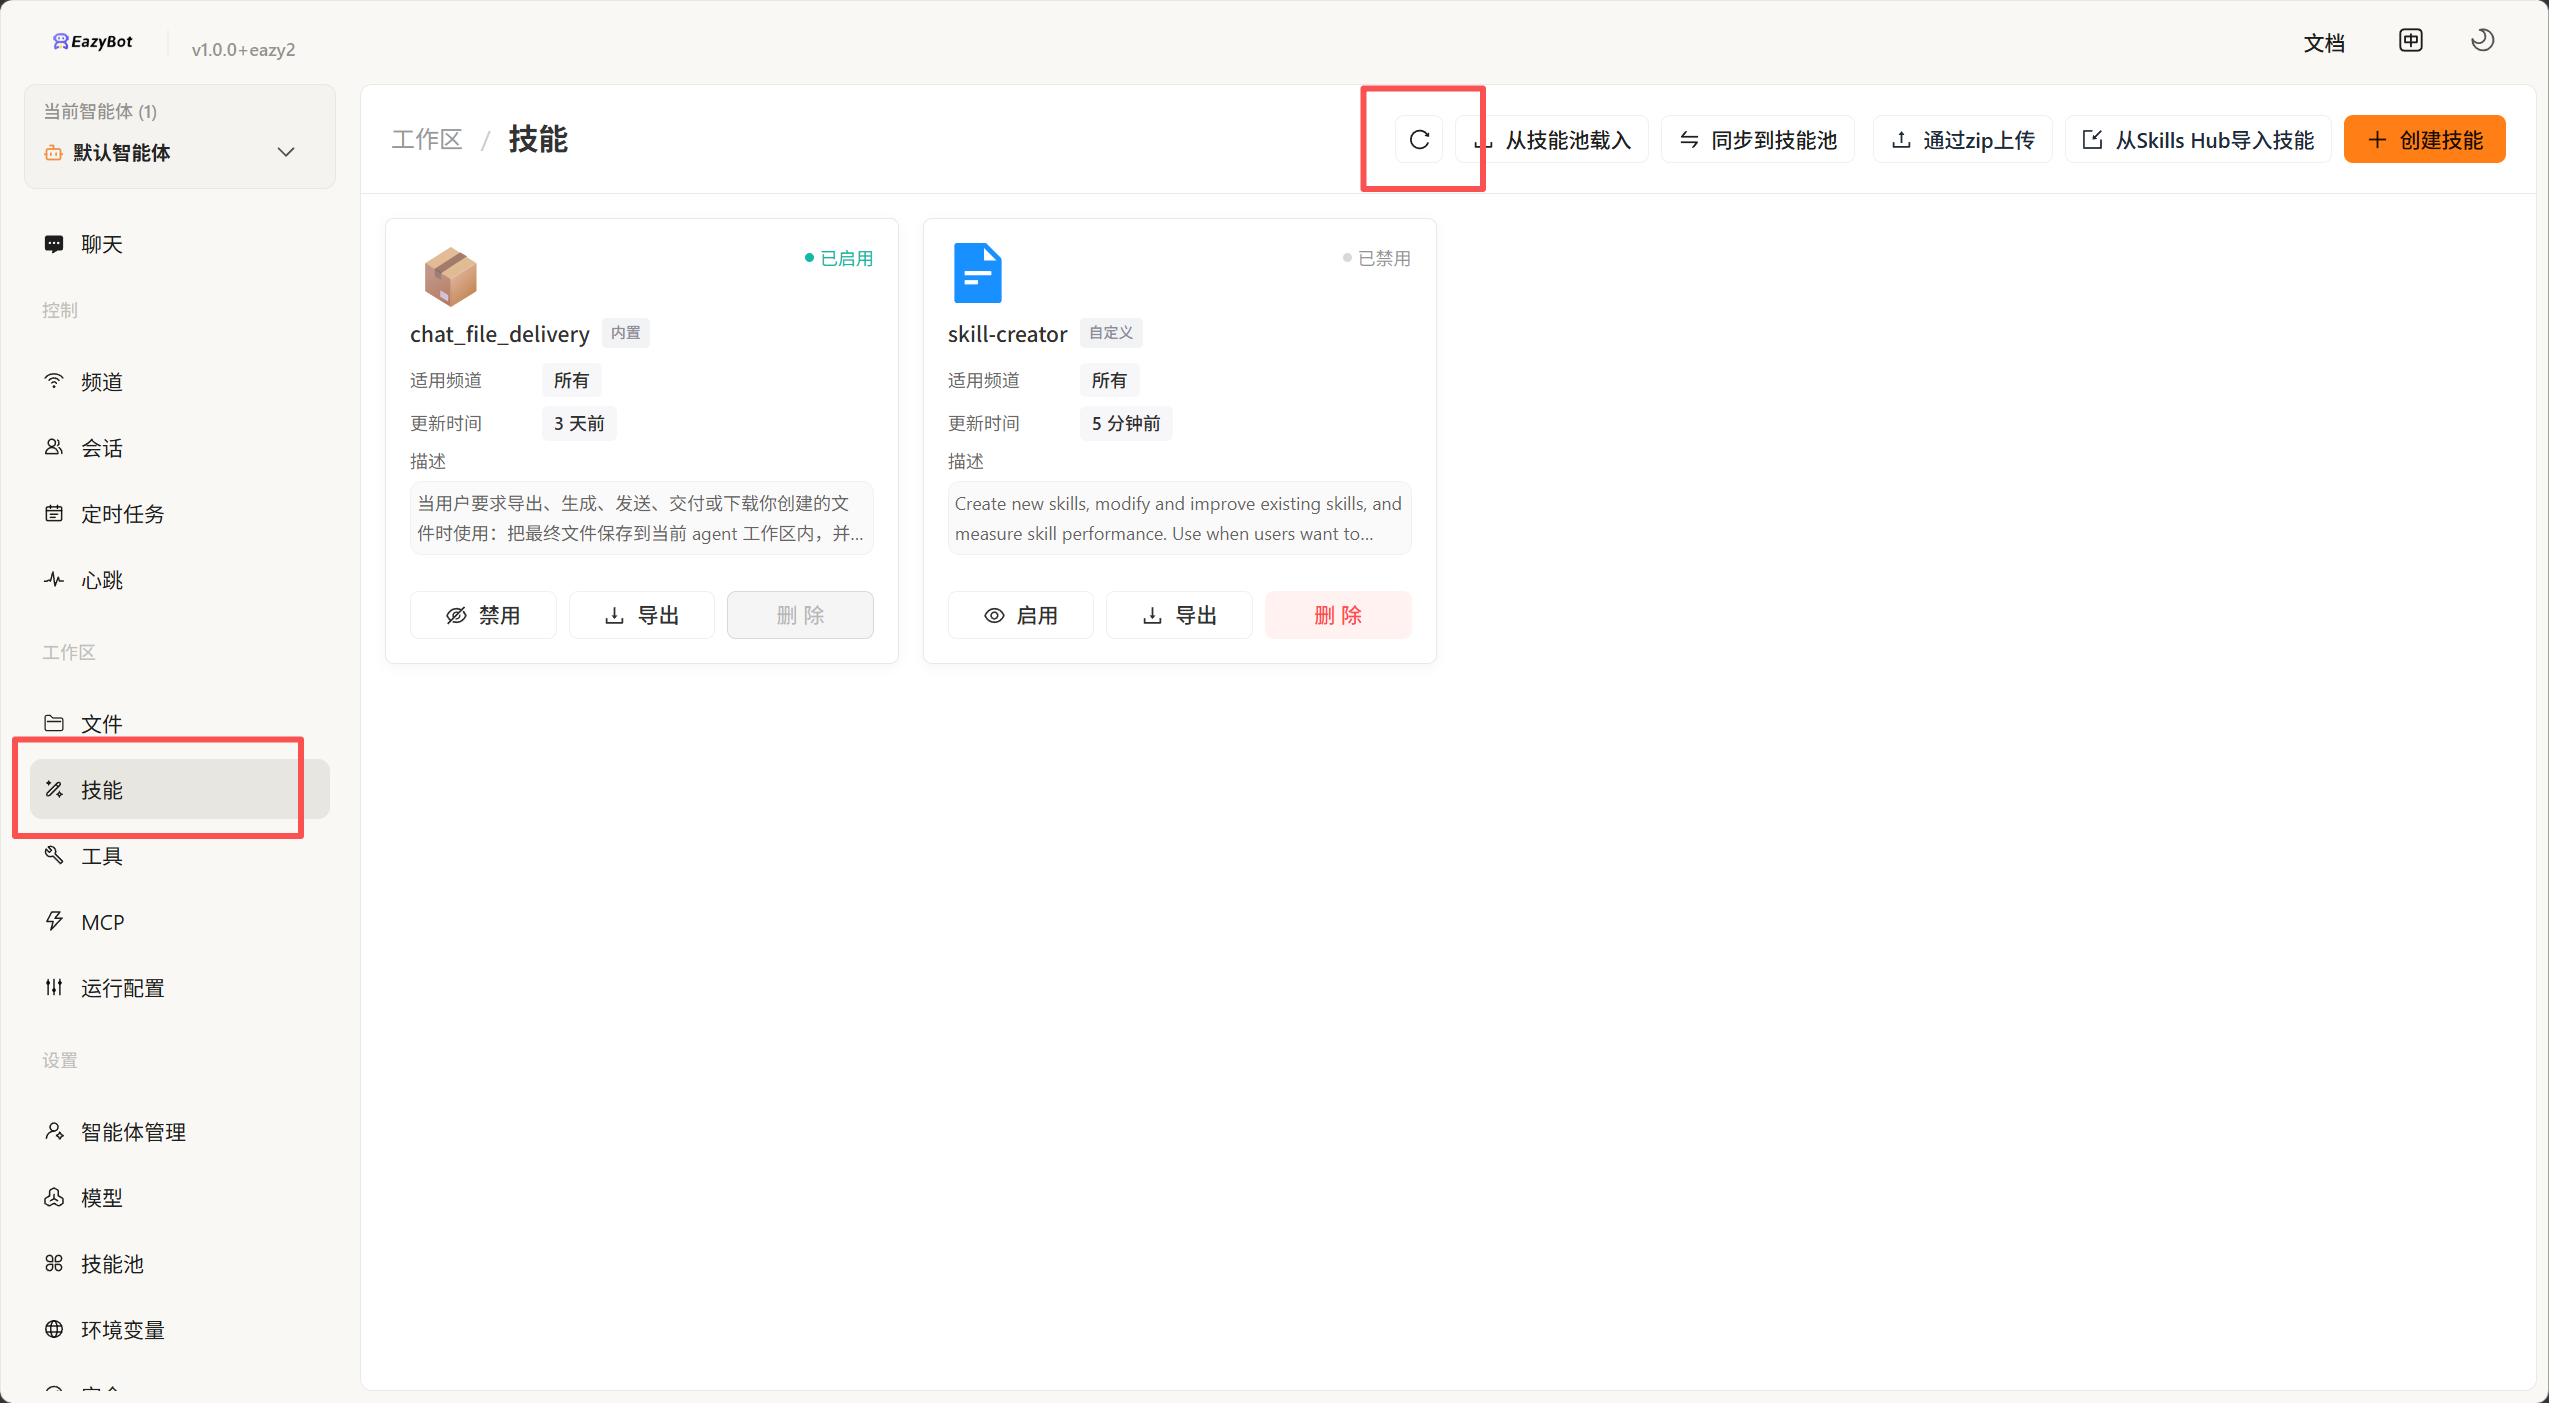
Click Skills on the left sidebar:
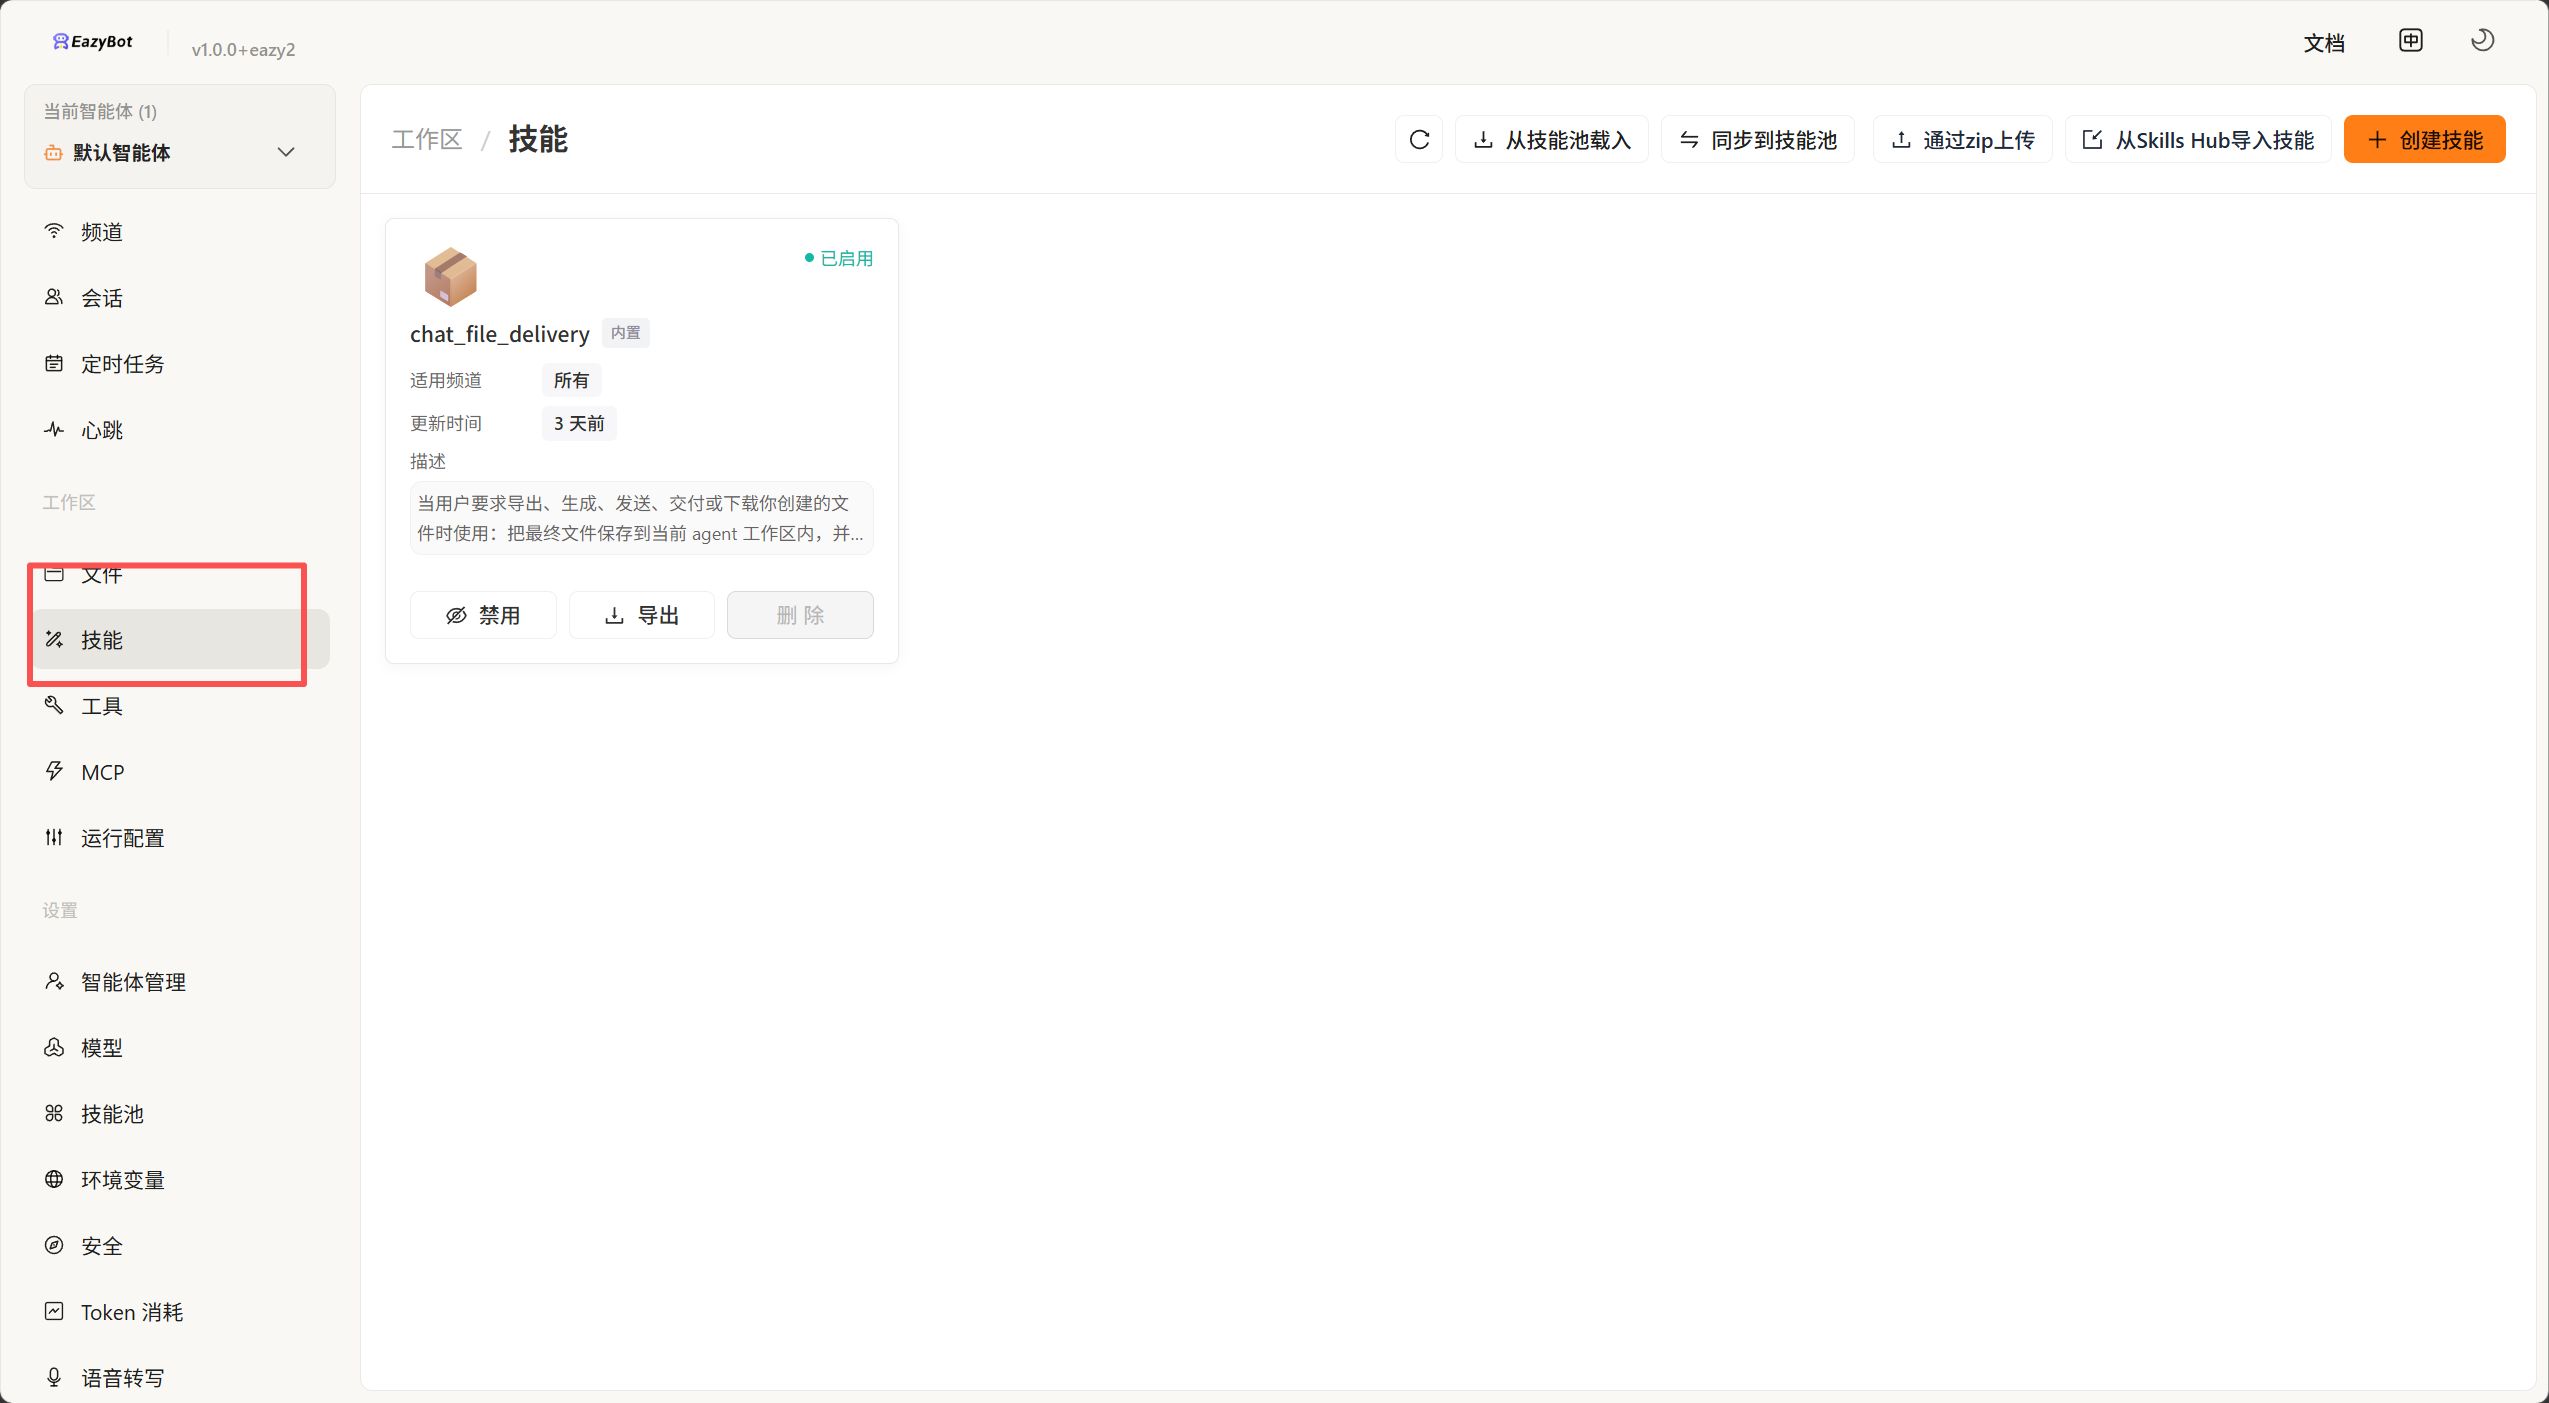
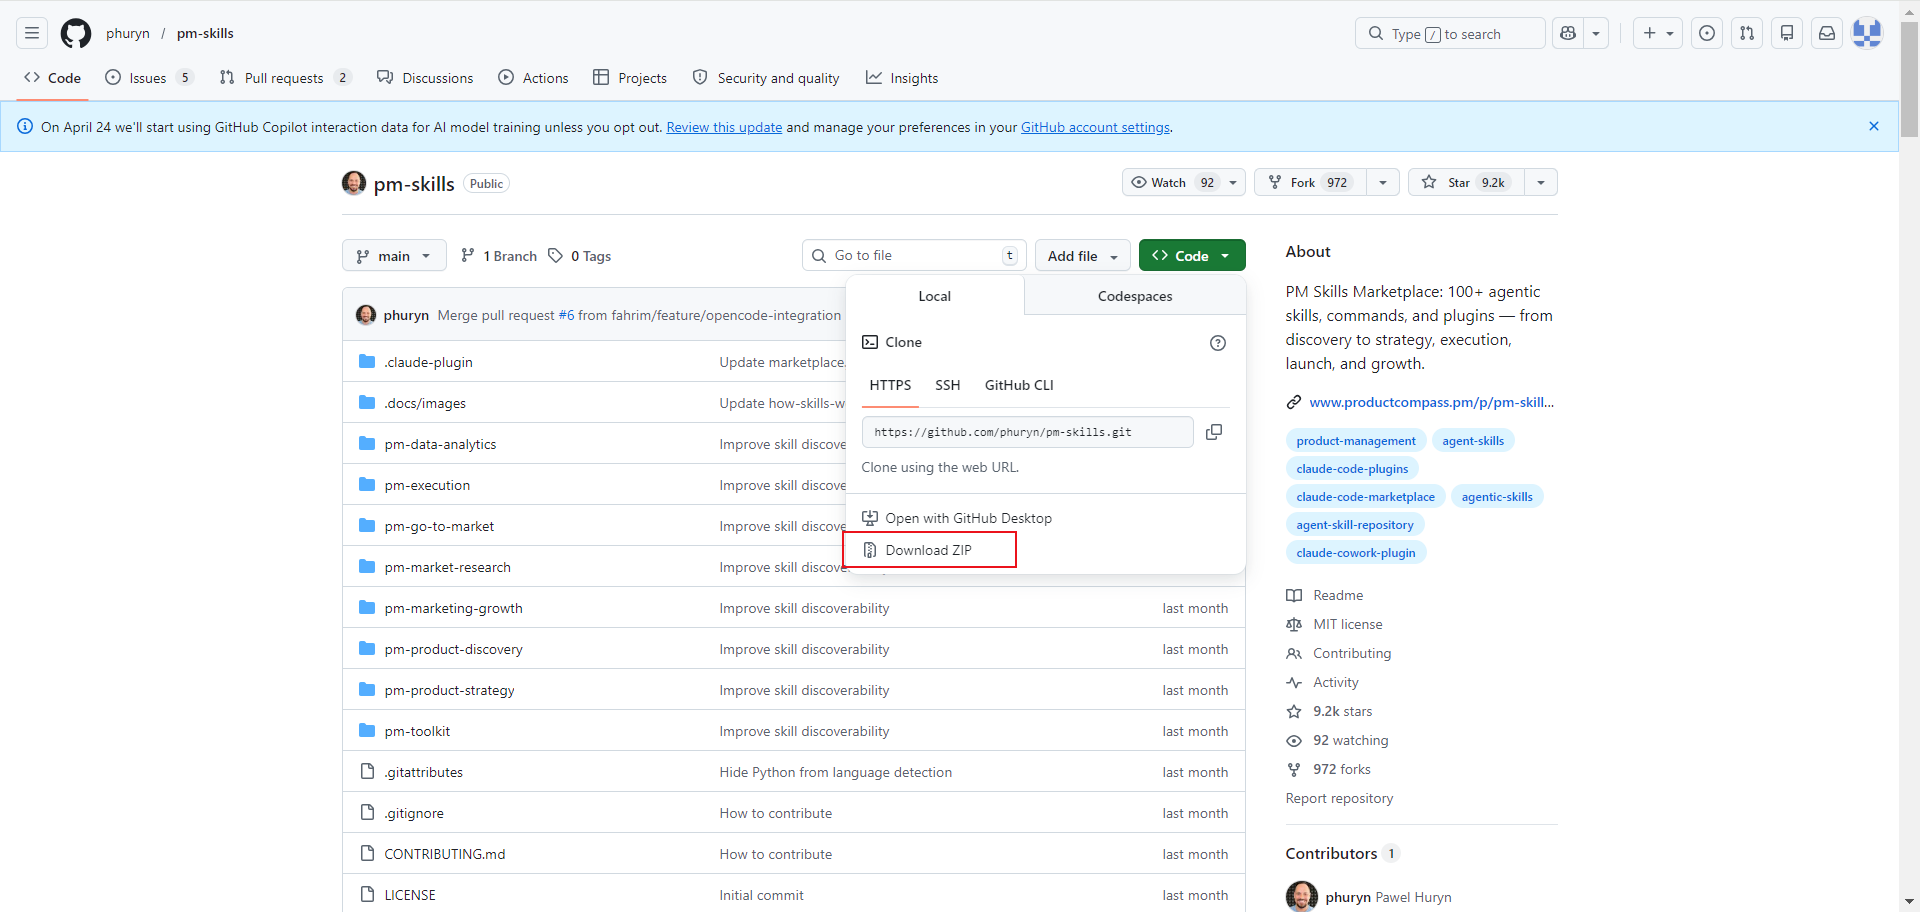
Upload Skill: Upload a skill zip package downloaded from somewhere. For example, download from GitHub and select the zip package to import.
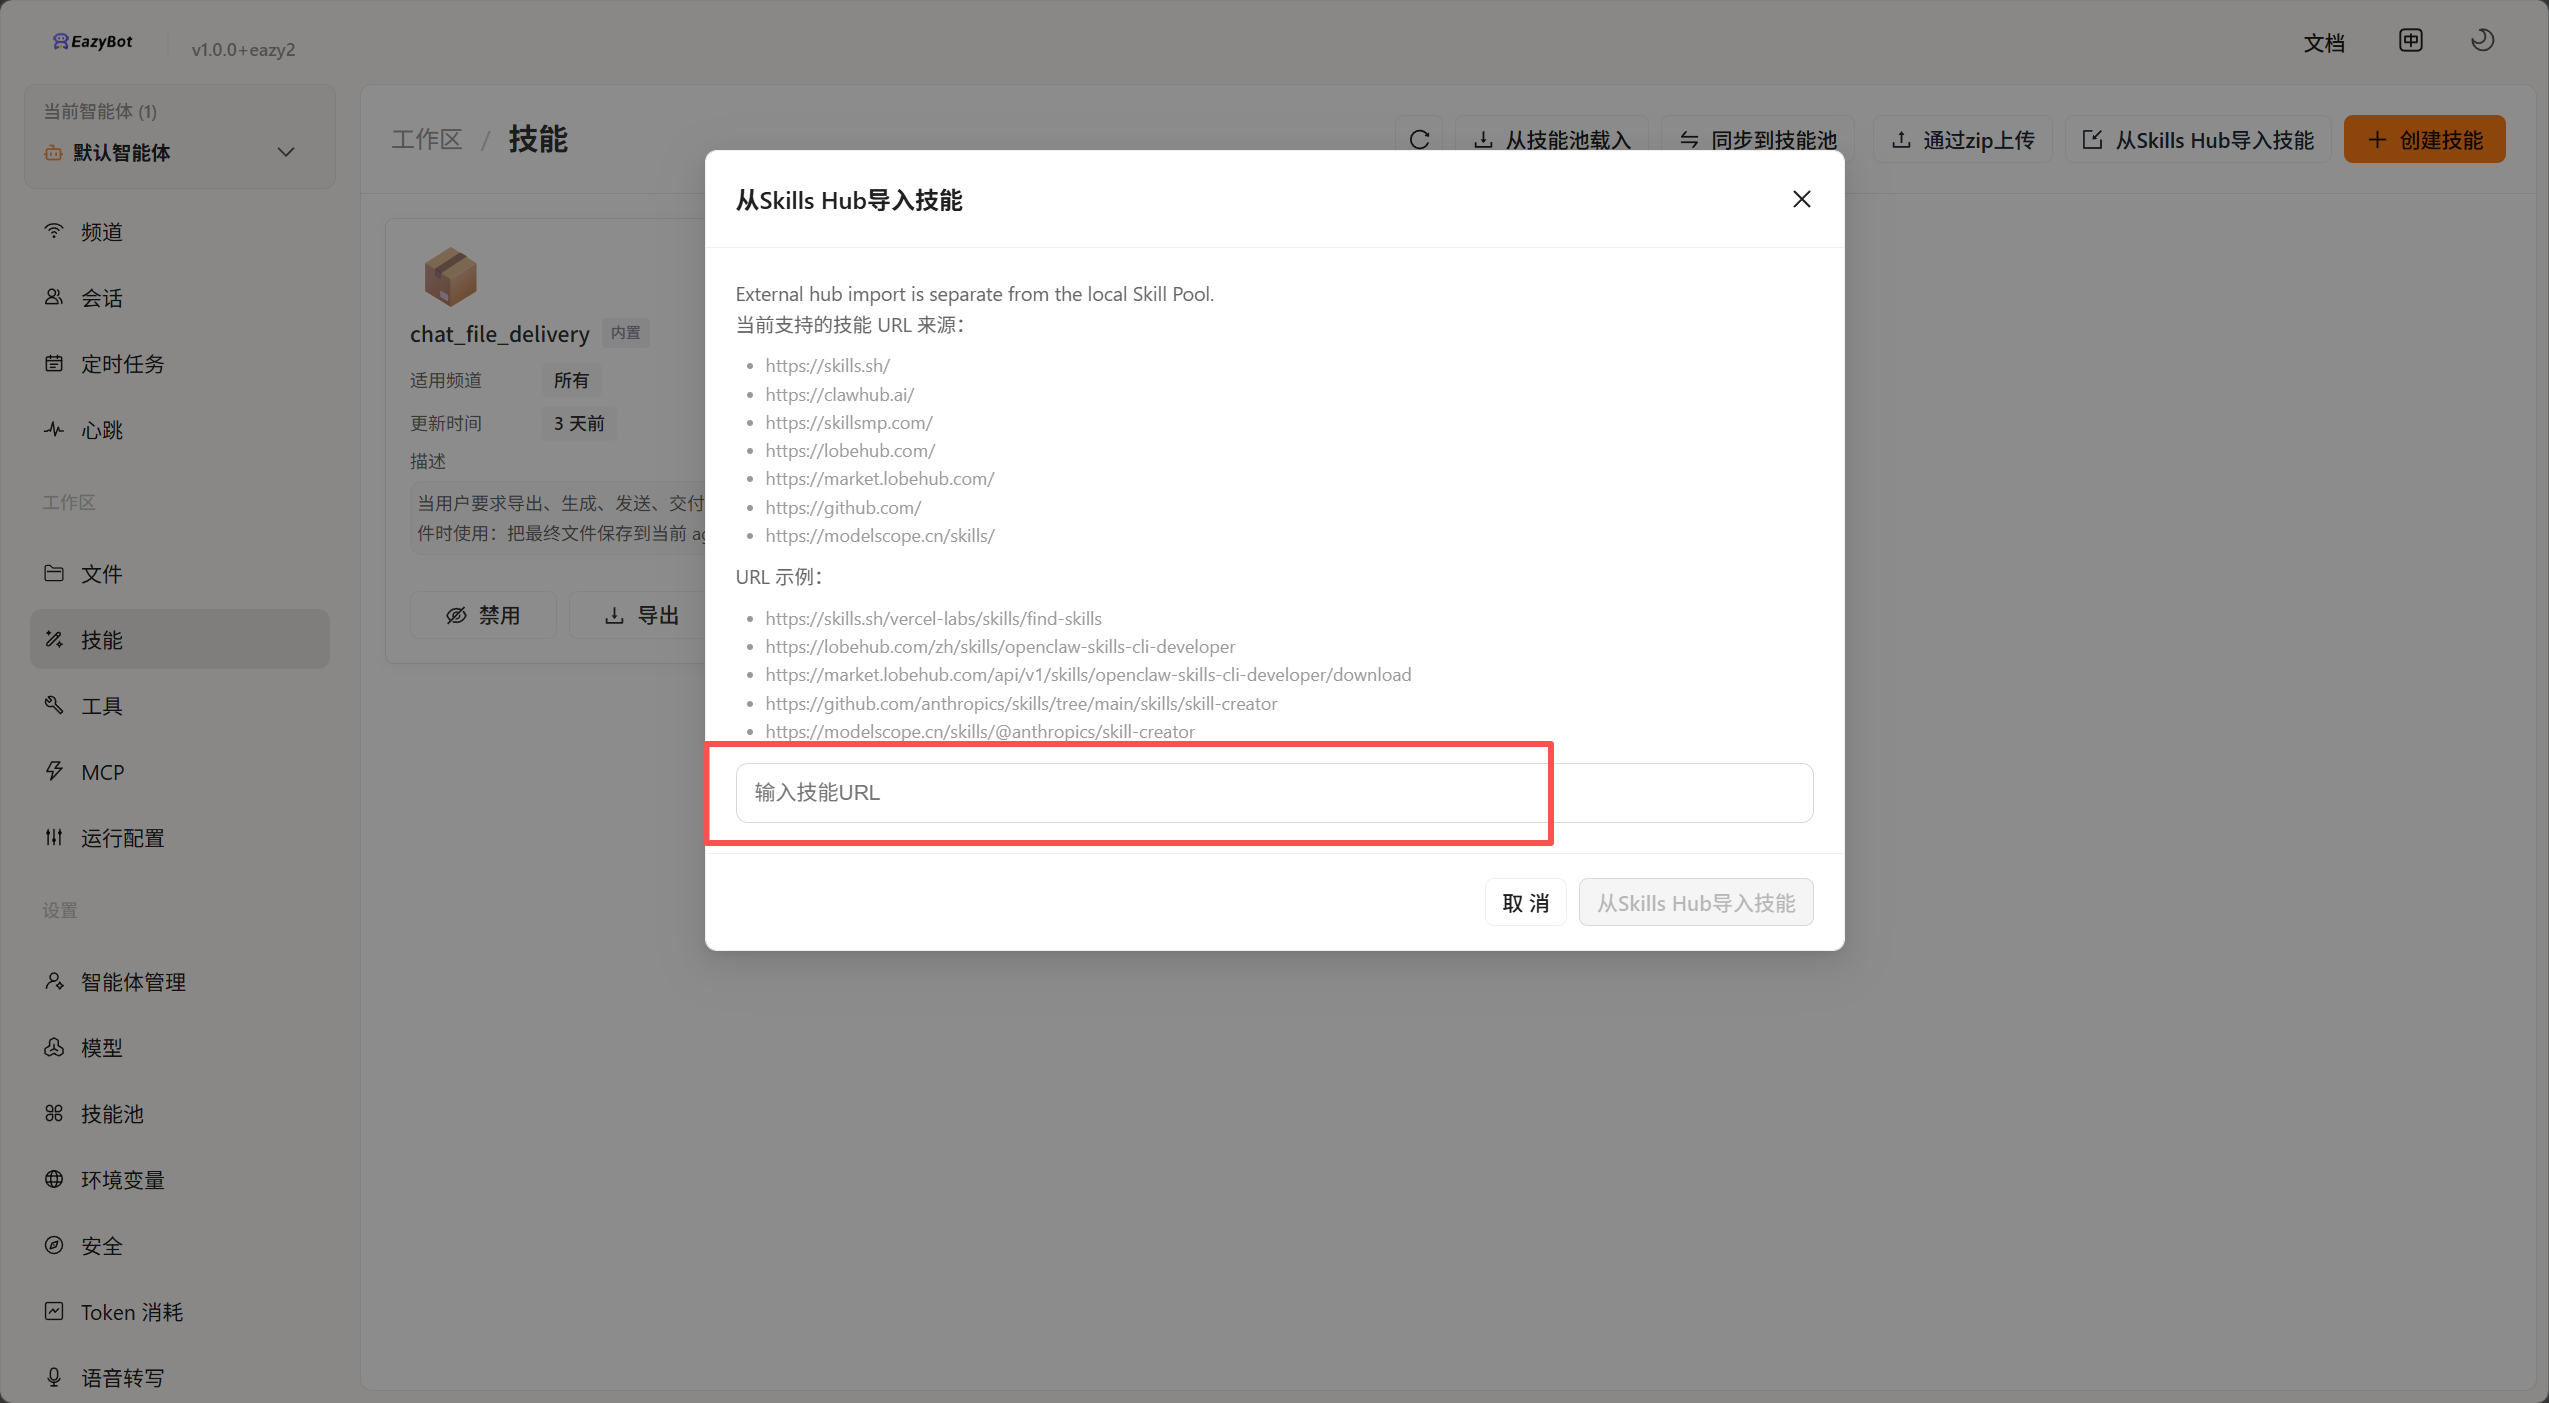
Import Skill: Paste the Skill URL in the popup (see the URL acquisition example below for how to get the URL). After successful import, the skill will appear in the skill list and be enabled by default.
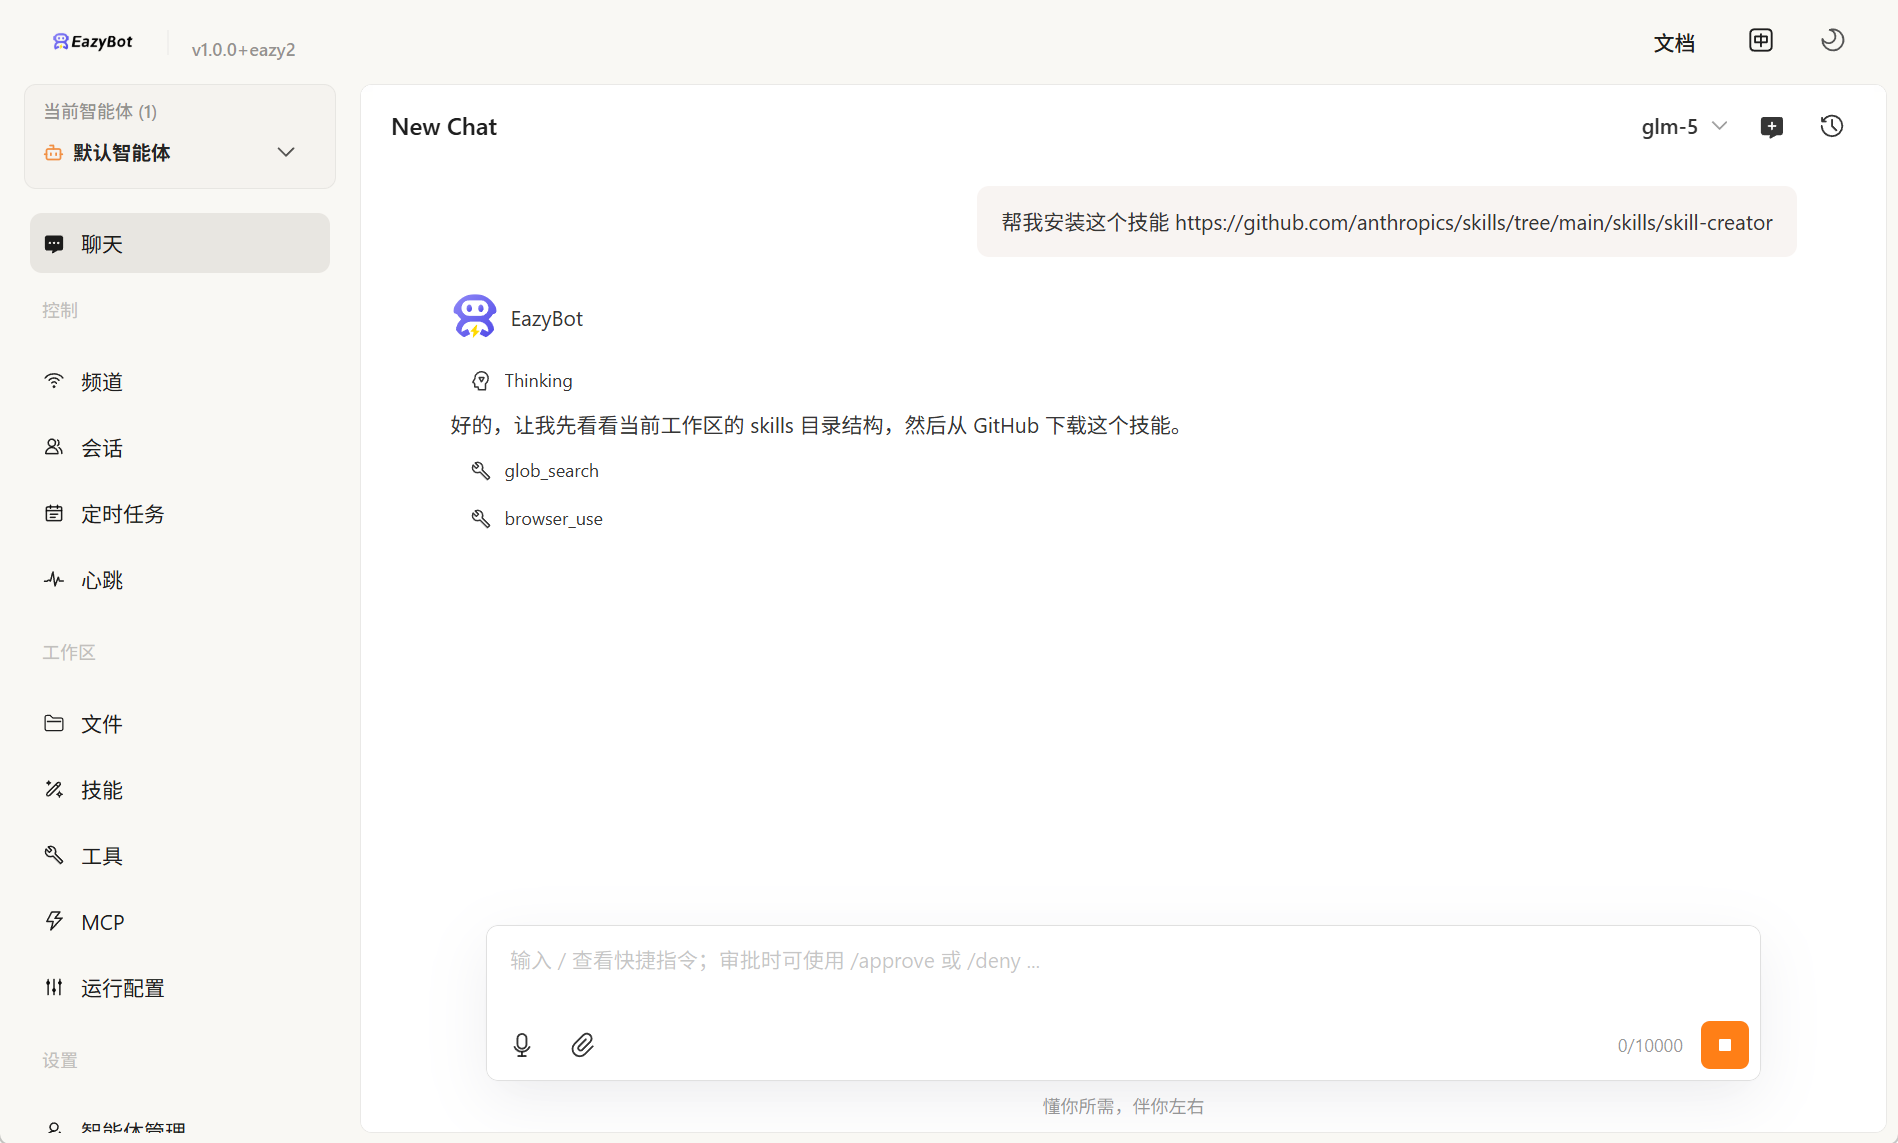
2: Install in Chat Conversation
Ask the agent to install skills in the chat conversation. After installation is complete, click the refresh button on the skills page.
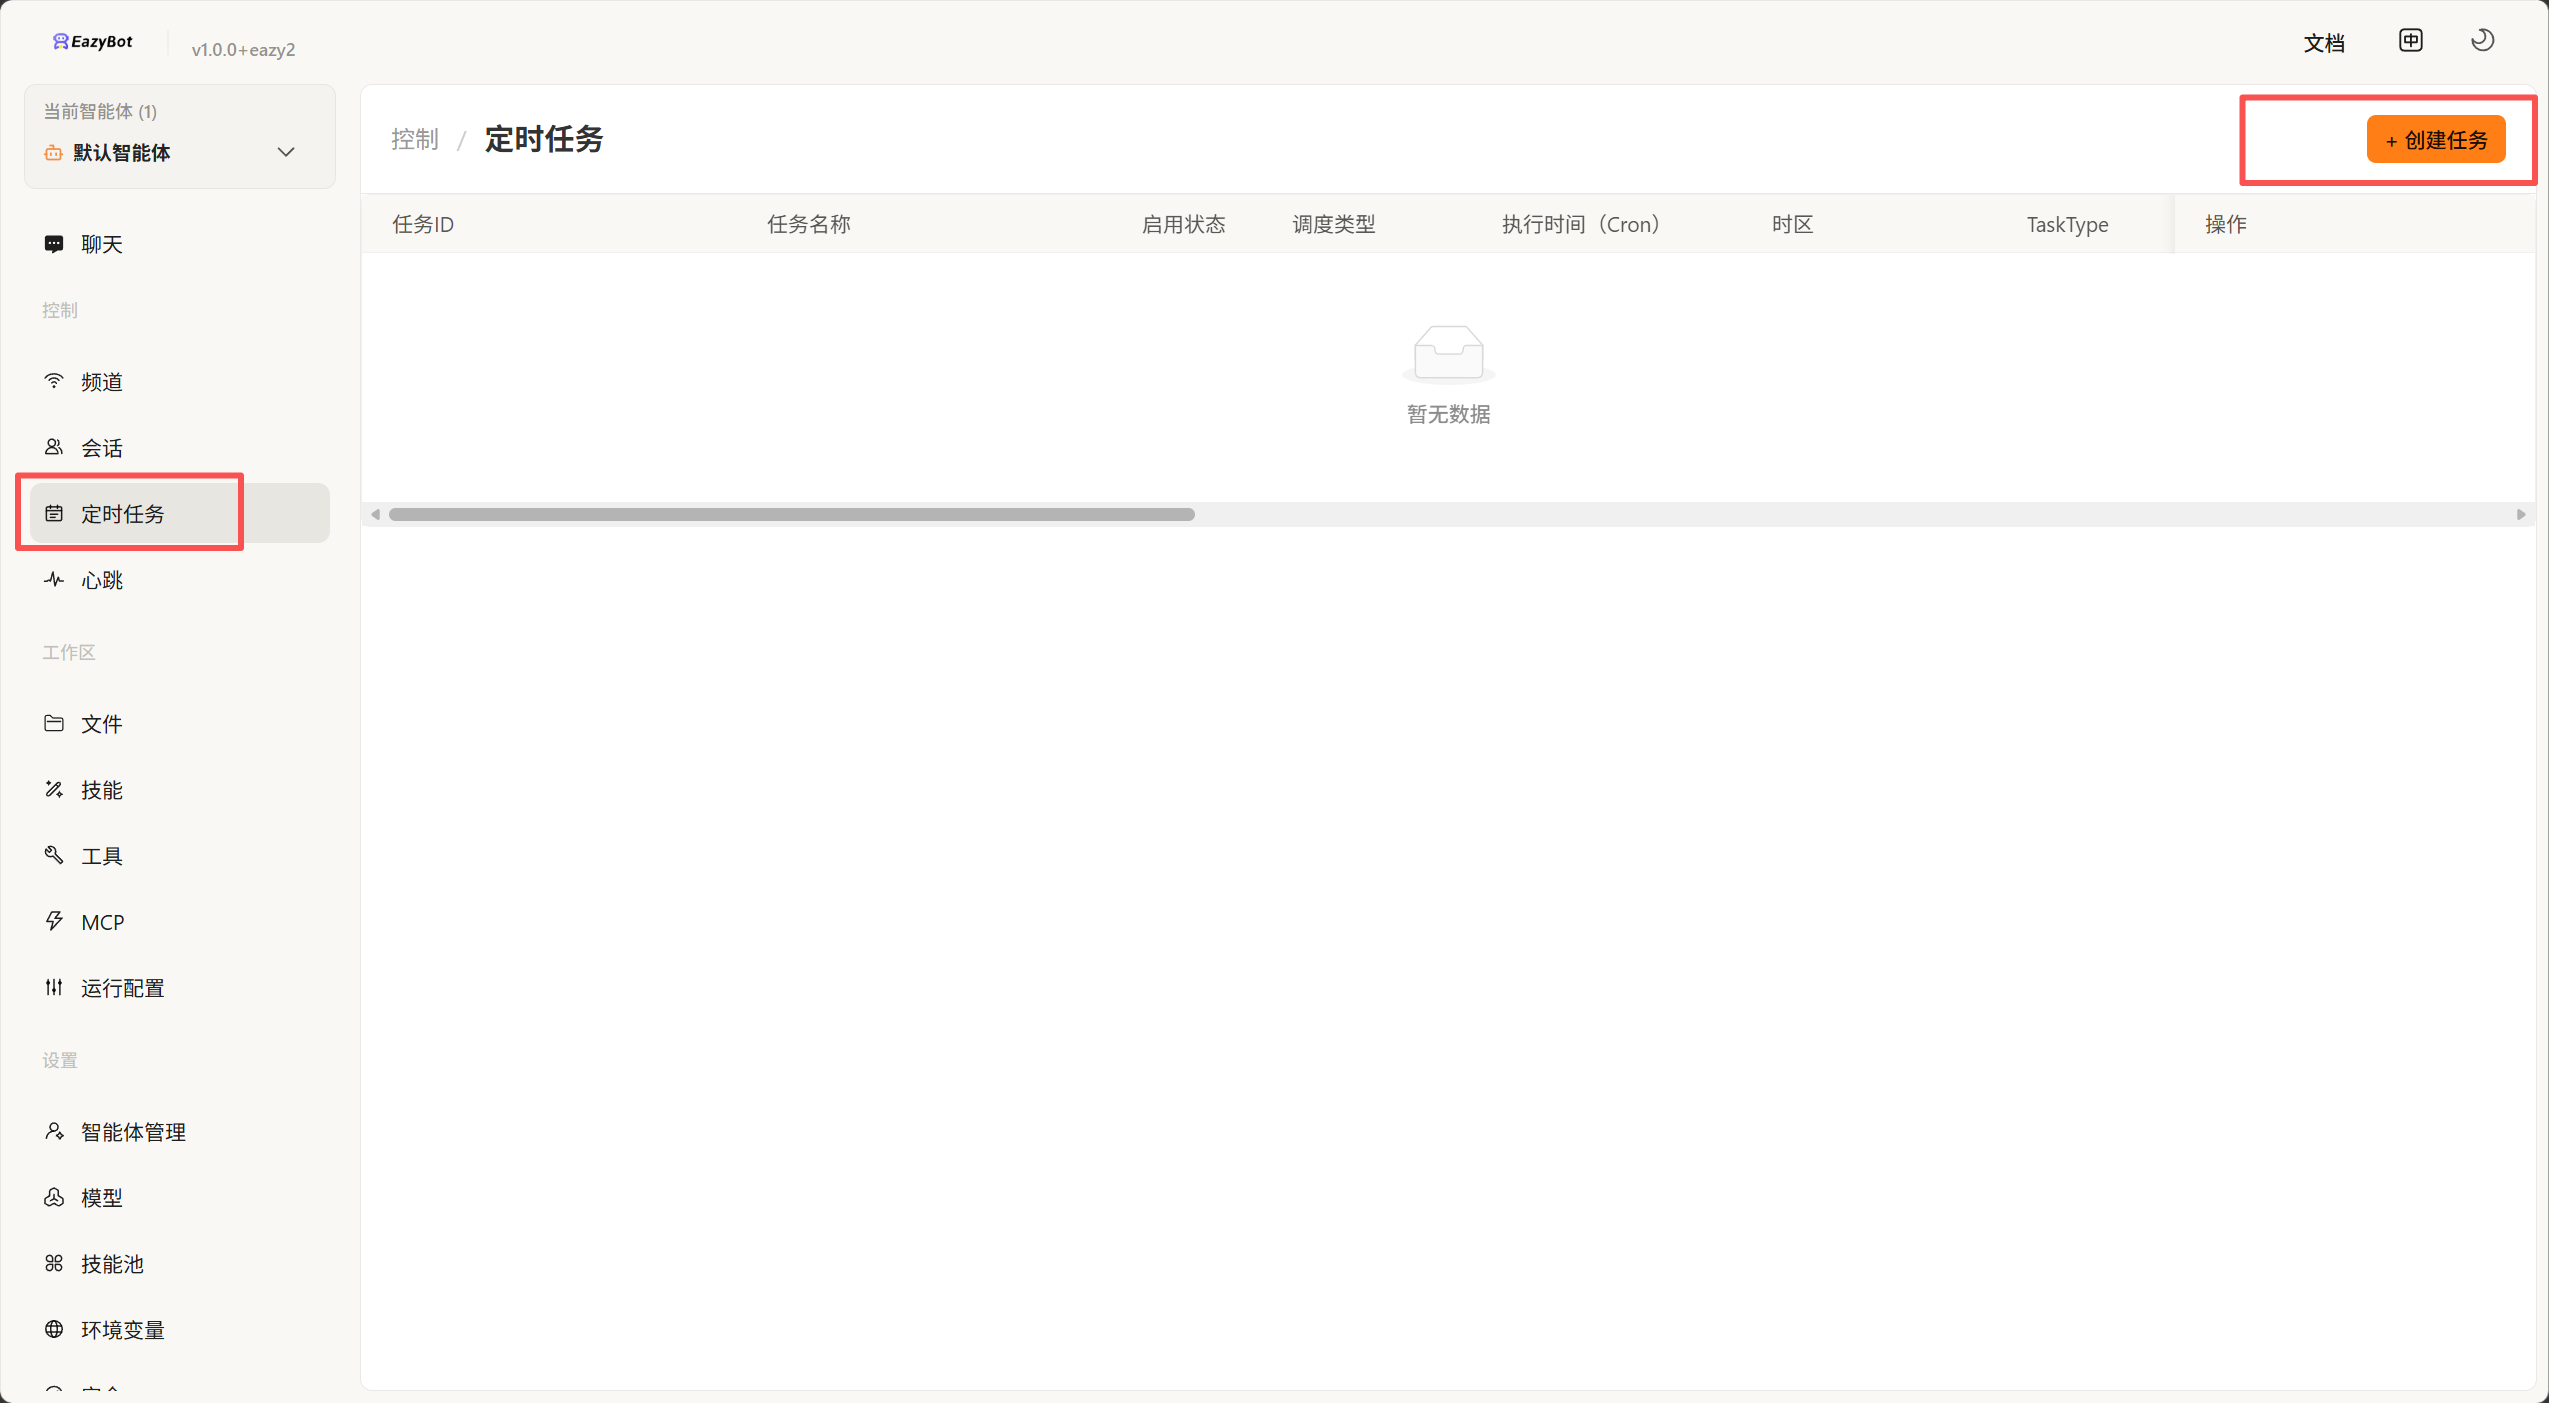
6. Scheduled Tasks
Here you can create and manage scheduled tasks that run automatically at specified times.
1: Create via Conversation
The simplest way is to create a scheduled task by directly talking to EazyBot. For example: "Help me create a scheduled task that reminds me to drink water every 5 minutes."
After creation, you can view the scheduled task on the scheduled tasks page in the console.
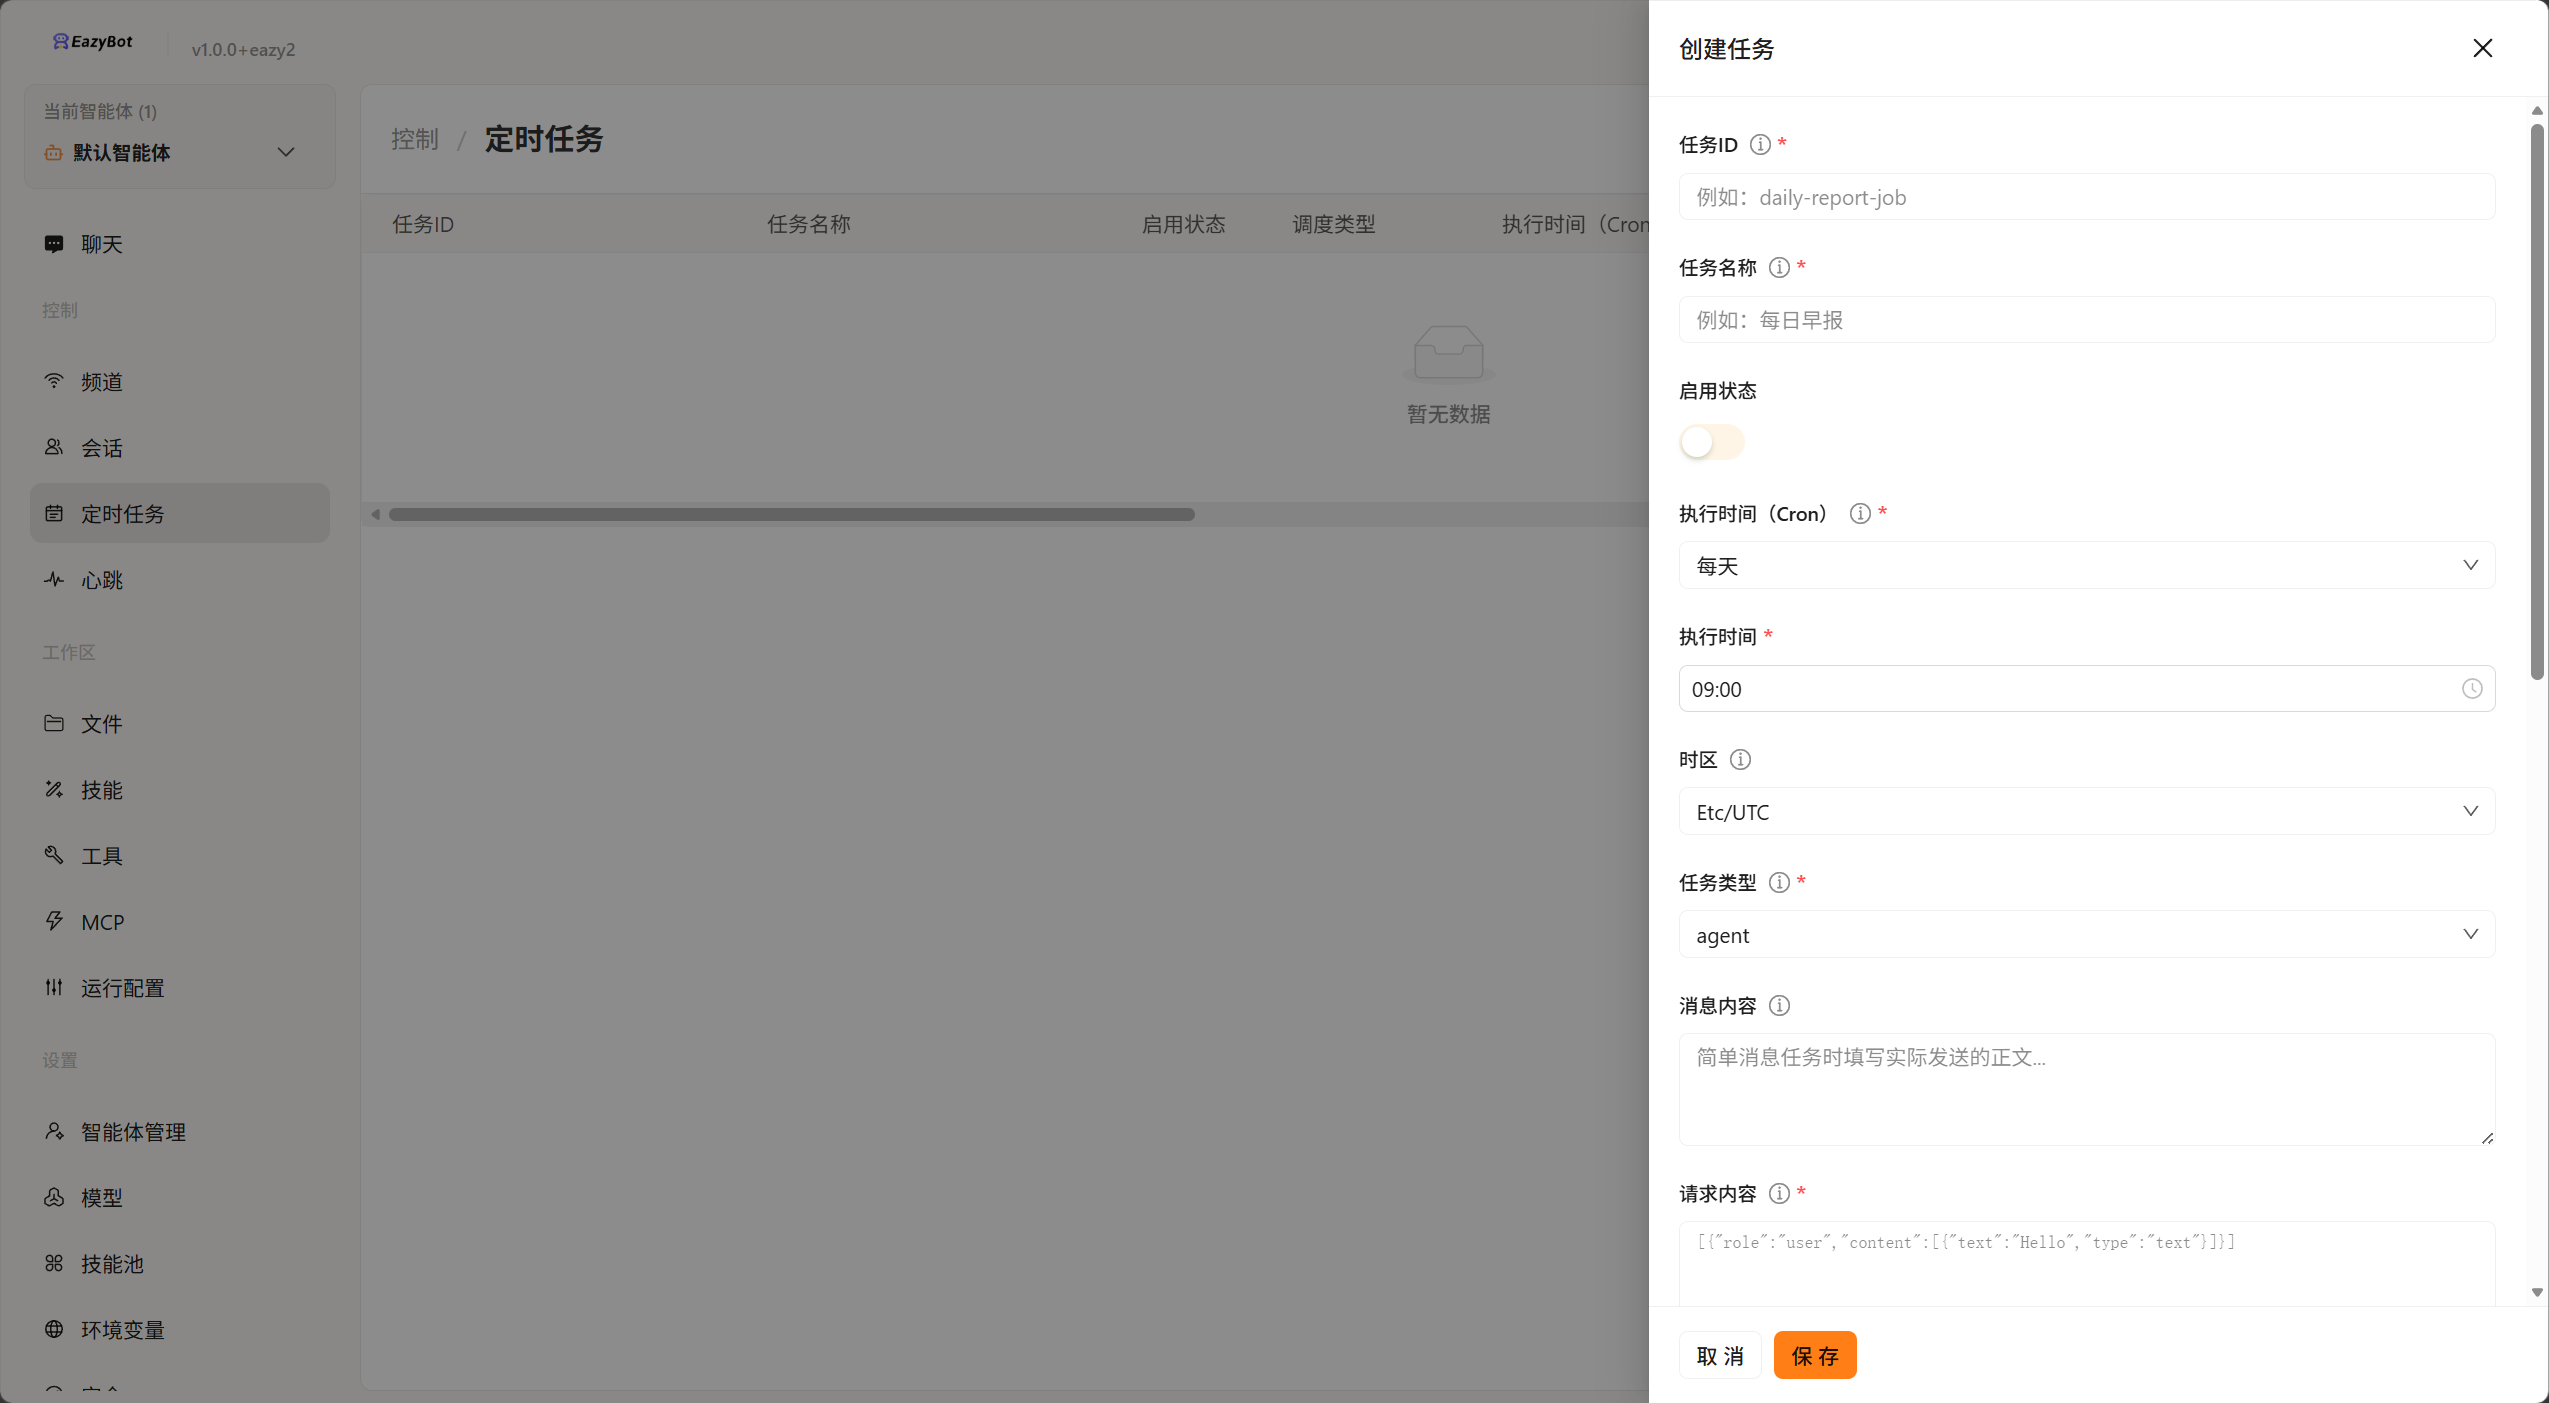
2: Create via Form
Create on the console page:
7. Agent Configuration
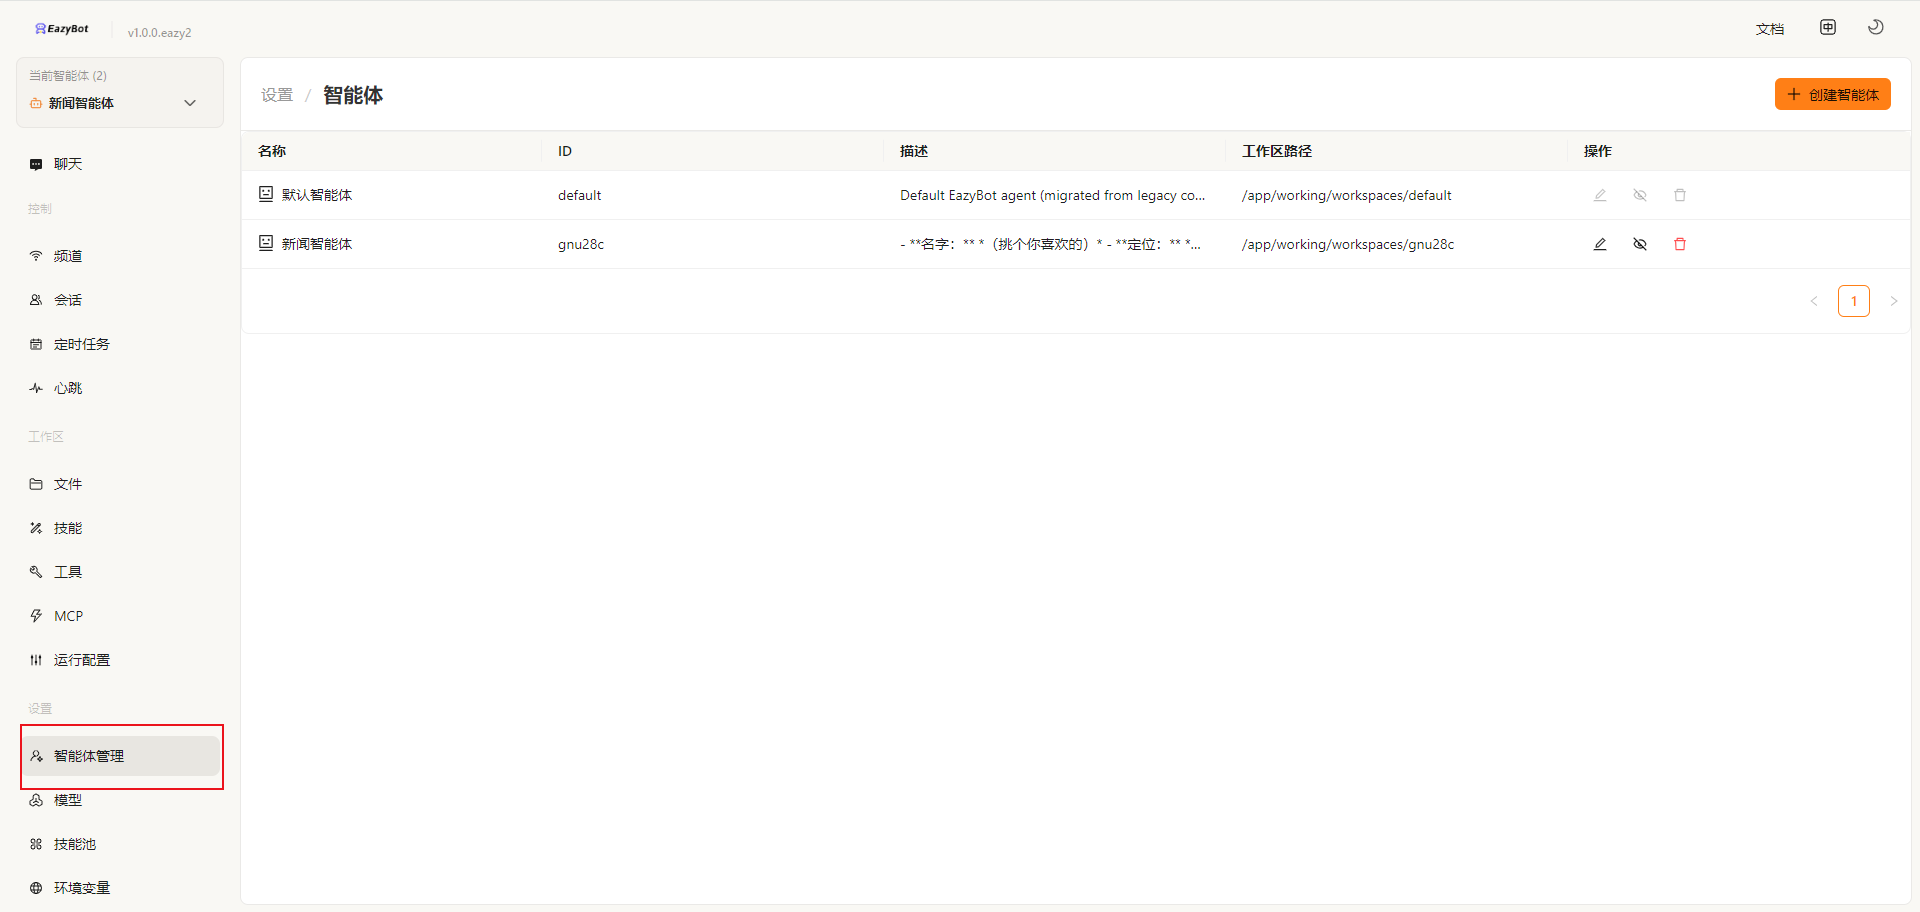

In agent management, you can set up multiple agents and switch between them for conversations.

Notes
- The desktop client can access local files, while the web version runs in an isolated environment and cannot access local files
- API Keys have account permissions, do not share them with others
- Skills can extend EazyBot's professional capabilities, install them as needed